
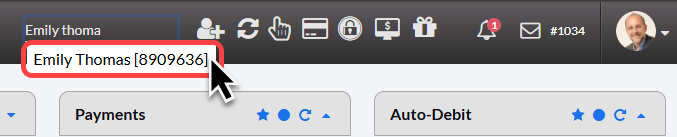
Step 1: Start typing in your patient's first or last name in the [Search Patient] bar near the top-right corner of your account and select the patient account from the drop-down menu.

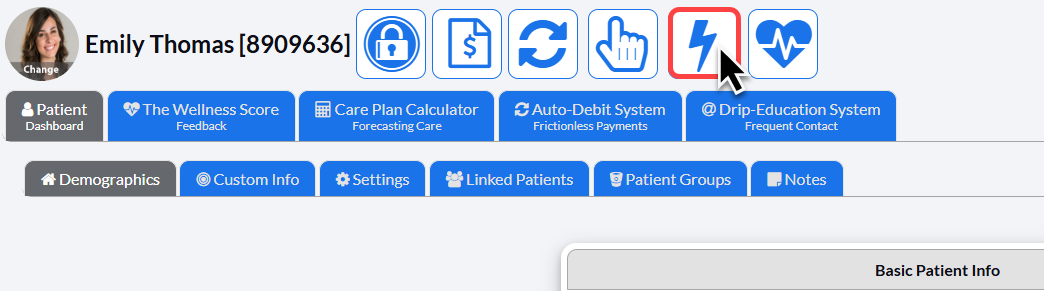
Step 2: This will bring you to the patient's record. From here, select the [EZ Swiper] lightning bolt icon, located in the top-left region of your patient's account.
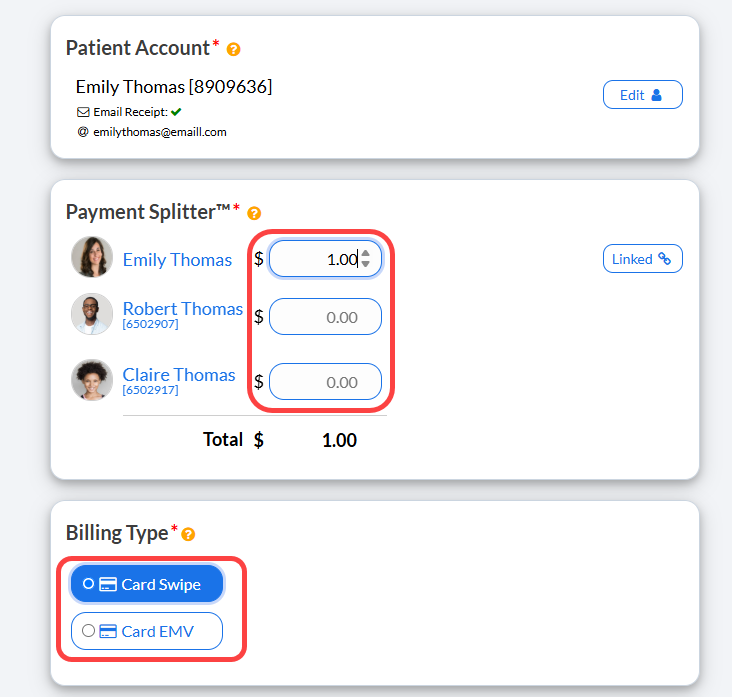
Step 3: This will open the EZ Swiper™ payment tool with the patient account already attached.
Enter the dollar amount in the Payment Splitter. If the payment is not being split between linked patients, you can leave those fields blank.
Billing Type will be pre-selected if you only have the USB card swiper. Select [Card EMV] if you have an integrated EMV terminal you would like to use instead.
Step 4: Choose your options for the Billing Vault, Merchant Account, and Comments.
Note: The default merchant account will be selected automatically. Leave this as is unless you'd like to choose an alternative merchant account.
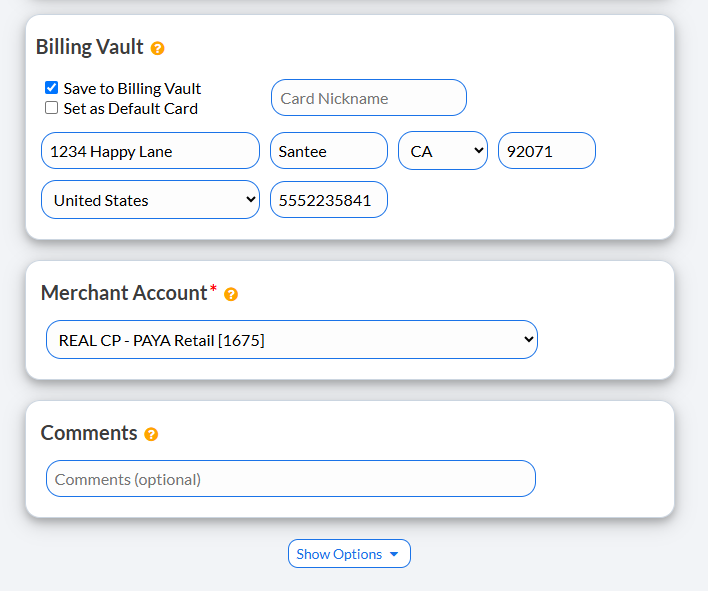
Billing Vault: | |
Save to Billing Vault | Check this box to save the card to the patient's billing vault for future payments. Uncheck if the patient opts out. |
Set as Default Card | Check off this box if the patient wants this card to be labeled as their default card to be used moving forward. |
Merchant Account | The defaulted merchant account will be displayed, but if using multiple merchant accounts with us, make the correct selection here. |
Comments (optional) | Add a comment for your team's eyes only. This will be displayed on the Posted Payments Report when reviewing the transaction details in the future |
(OPTIONAL): Show Options
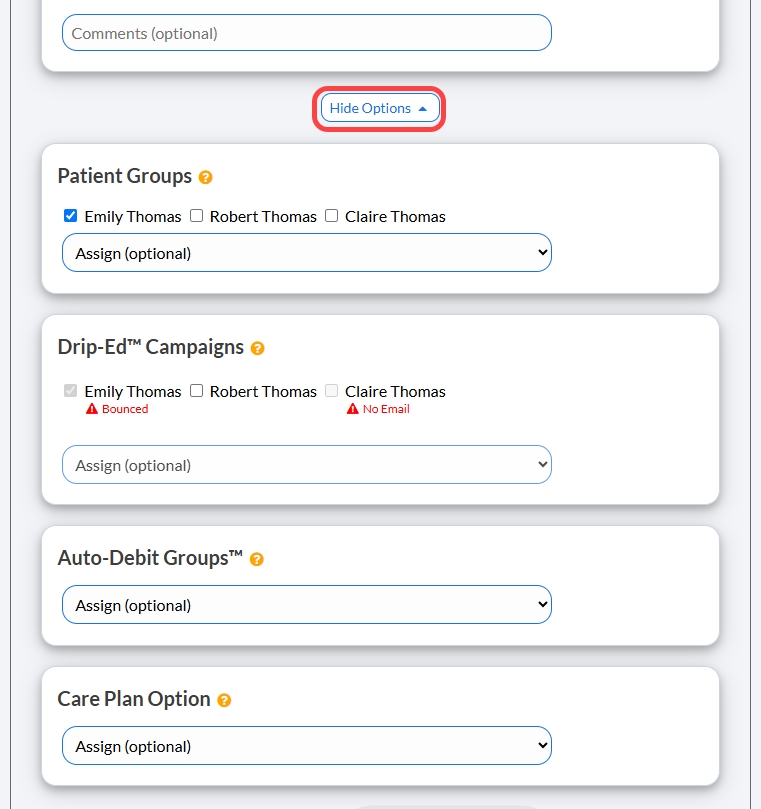
Patient Groups | This allows you to group your patients based on whatever parameters you would like. You can then use this to keep track of your patients and leads and also efficiently target market. |
Drip Ed Campaigns | Requires the Drip-Education Email Marketing System™. We highly recommend you use this feature to continue frequent contact with your patients. |
Auto-Debit Groups | This allows you to categorize your payments into groups. For example, it allows you to track your Chiropractic Services, Massage Services, Products, Locations, etc. |
Care Plan Option | If this Auto-Debit is for an existing care plan created with the Care Plan Calculator® System, indicate the payment option (i.e. Option 1, 2, or 3). This will keep your stats more accurate. |
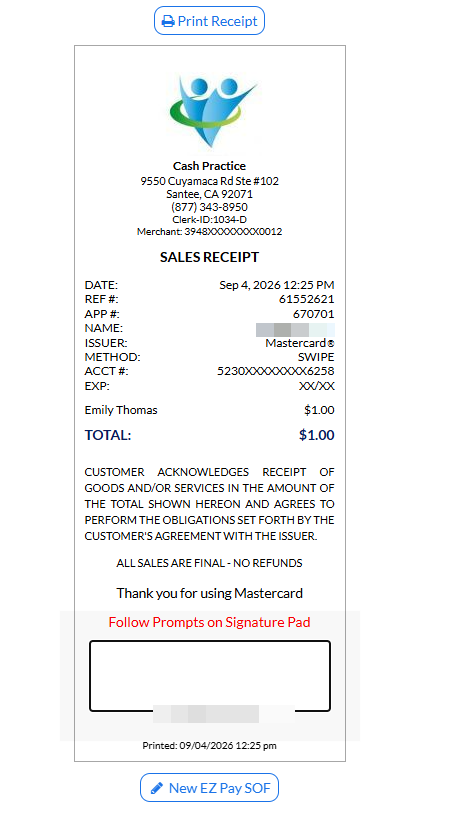
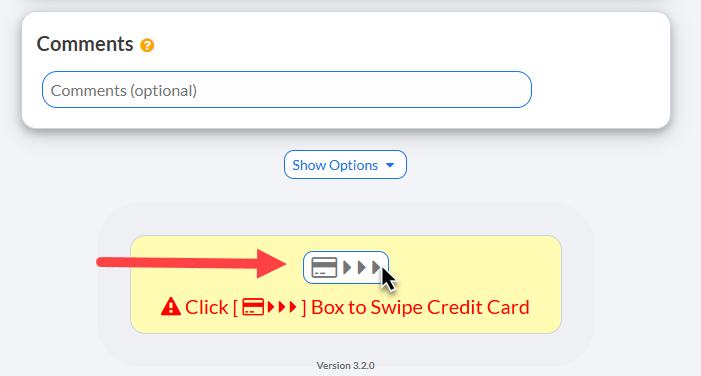
Step 4: Click inside the box to swipe your patient's card. If it is accepted, it will refresh the page with the accepted receipt.
Step 6: Print the receipt by clicking on the [Logo] or the [Print] button at the top.
(Optional) Capture the [e-signature] from the patient.