
Start Here:
From the top right of your screen, go to the navigation menu → select the Virtual Terminal icon.

Step 1: Select your Processing Method and select the Patient Account.
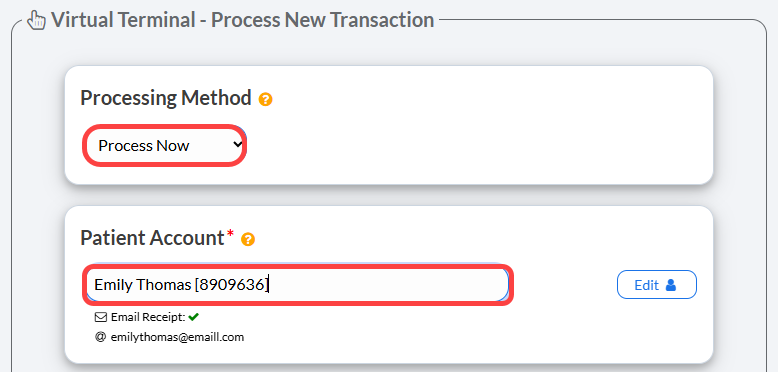
Processing Method | Defaulted to "Process Now" with the option to select "Schedule Later" allowing for scheduling a one-time payment to run on a specific date. |
Patient Account | The menu will search for patients that match the information entered into the field. Enter the patient's first name or last name, company, patient ID, or TPS ID, then select the Patient Account from the menu. |
Add + | If this is a new patient and they have no patient record saved in Cash Practice® yet, select the [Add +] button to the right. All that is required to create a new patient account is a first and last name. |
Edit | Click the [Edit] button after the patient account is attached to edit the Patient Record in Cash Practice |
Step 2: Enter the dollar amount into the Payment Splitter next to the specified patient.
Enter the dollar amount for the patient here, or if needing to split the payment amongst multiple family members, enter the dollar amount next to their names.
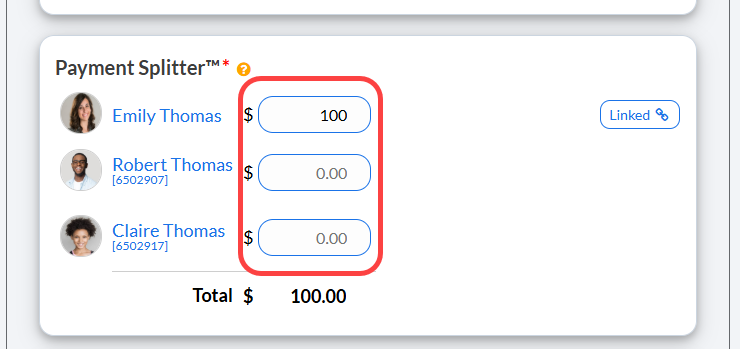
The [Linked] button will bring up the linked patient's tab in the patient account. From here, you can link patients and share the family wallet. For help with linking patients and splitting payments, follow the instructions HERE
Step 3: Select the Billing Type
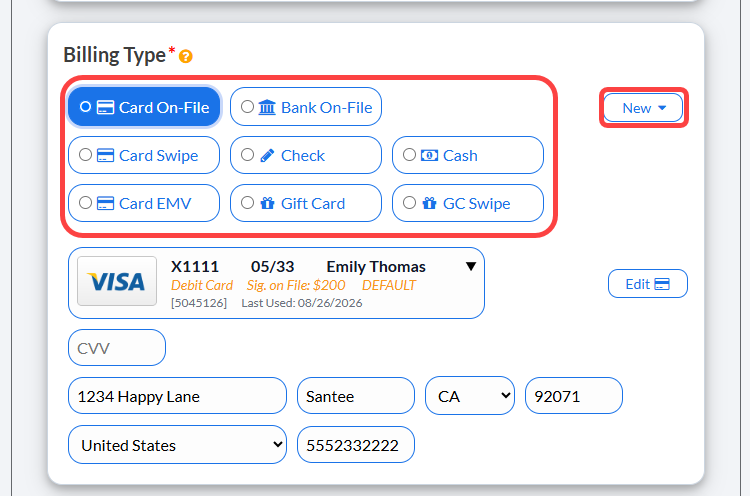
New | This allows you to type in a new credit card number or bank account. |
Card on File | Enter the credit card details manually, or select a saved card from the patient's account. To save a new card to the Billing Vault, click New. |
Bank On-File (EFT) | Routing and account number off of the check. Click the [New] button to add new information to the Billing Vault |
Card Swipe | Use a Cash Practice® USB Card Swiper or Scriptel Signature device to swipe a card and collect payment information for the payment. |
Check | This tool allows you to record the transactions as being collected with a check, with a space to add the check #. It's very important that you have strong procedures in place as to how your office collects, records, and tracks checks. |
Cash | This tool allows you to record the transactions as being collected with cash. It's very important that you have strong procedures in place as to how your office collects, records, and tracks cash. |
Card EMV | Select this option if using one of our integrated EMV chip terminals, you will be prompted differently on how to process the payment |
Gift Card | If the patient wants to pay for their visit with a gift card purchased at your office with Cash Practice's Gift Card Program, select this option if you have to key-enter or type the card number |
Gift Card Swipe | Again, if the patient wants to pay for their visit with a gift card purchased at your office with Cash Practice's Gift Card Program, select this option if you have the physical gift card and want to swipe it |
If adding a new card:
In the Billing Vault Section you can select to [Save to Billing Vault] to keep the card or new account on file for future payments. You may also [Set as Default] and add a Nickname to easily recognize the account or card.

Step 4: Proceed with the other fields in the Virtual Terminal.
The defaulted Merchant Account will be displayed.
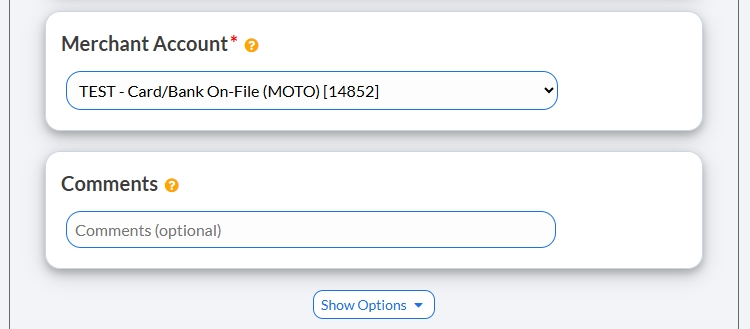
Merchant Account | The defaulted merchant account will be displayed, but if using multiple merchant accounts with us, make the correct selection here. |
Comments (optional) | Add a comment for your team's eyes only. This will be displayed on the Posted Payments Report when reviewing the transaction details in the future |
Optional: Show Options
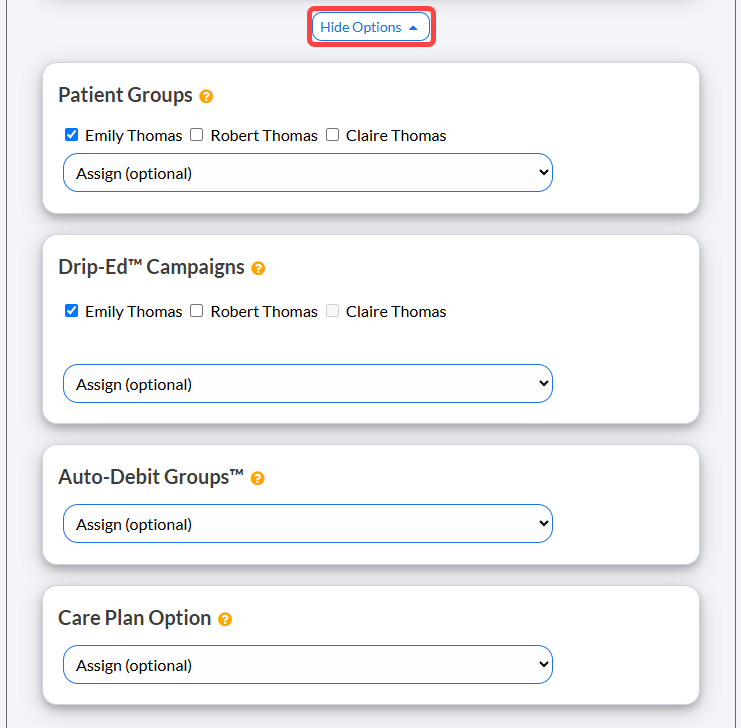
Patient Groups | This allows you to group your patients based on whatever parameters you would like. You can then use this to keep track of your patients and leads and also efficiently target market. |
Drip Ed Campaigns | Requires the Drip-Education Email Marketing System™. We highly recommend you use this feature to continue frequent contact with your patients. |
Auto-Debit Groups | This allows you to categorize your payments into groups. For example, it allows you to track your Chiropractic Services, Massage Services, Products, Locations, etc. |
Care Plan Option | If this Auto-Debit is for an existing care plan created with the Care Plan Calculator® System, indicate the payment option (i.e. Option 1, 2, or 3). This will keep your stats more accurate. |
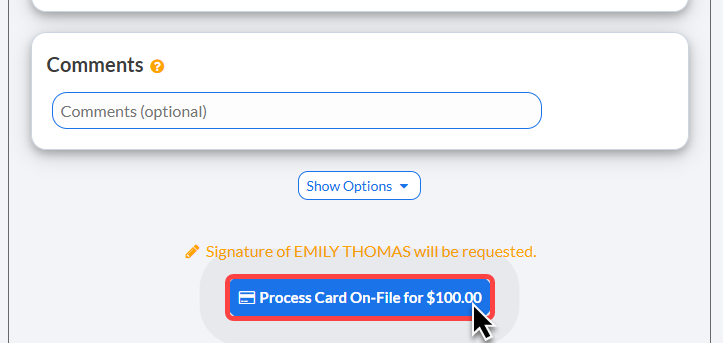
Step 5: Click the [Process] button at the bottom of the screen to complete the payment.
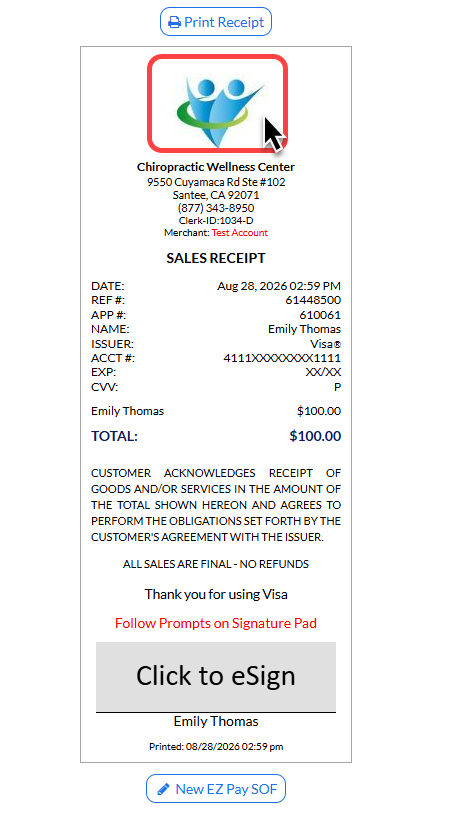
Step 6: Print the receipt by clicking on the logo or the [Print Receipt] button.
(OPTIONAL) Capture the [e-signature] from the patient.