

A declined payment is a payment that has been rejected by the customer's credit card issuer. This can happen for a variety of reasons, such as:
The customer does not have enough funds in their account.
The customer's card has been expired or lost.
The customer's card has been flagged for fraud.
When a payment is declined, it will be listed in the Payments section of your dashboard. You will need to take action to resolve the issue.
To handle a declined payment, you can do the following:
Cancel the payment. This will remove the payment from your payment report and prevent the customer from being charged again for that transaction.
Reschedule the payment. This will allow you to try to process the payment again at a later time.
Contact the customer. This is the best way to resolve the issue. You can ask the customer to update their payment information or to try using a different payment method.
It is important to handle declined payments promptly. If you do not take action, you may lose revenue. This article will walk you through managing declined payments.
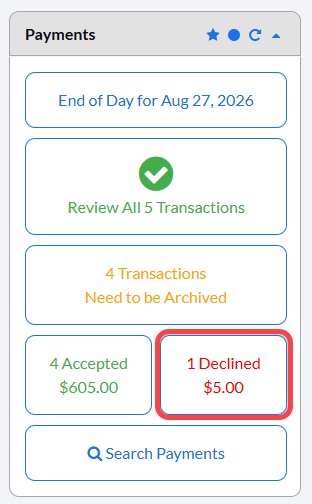
Step 1: Locate the declined transaction by clickingon the [Declined] on the Dashboard or by bringing it up in the Posted Payments Report.
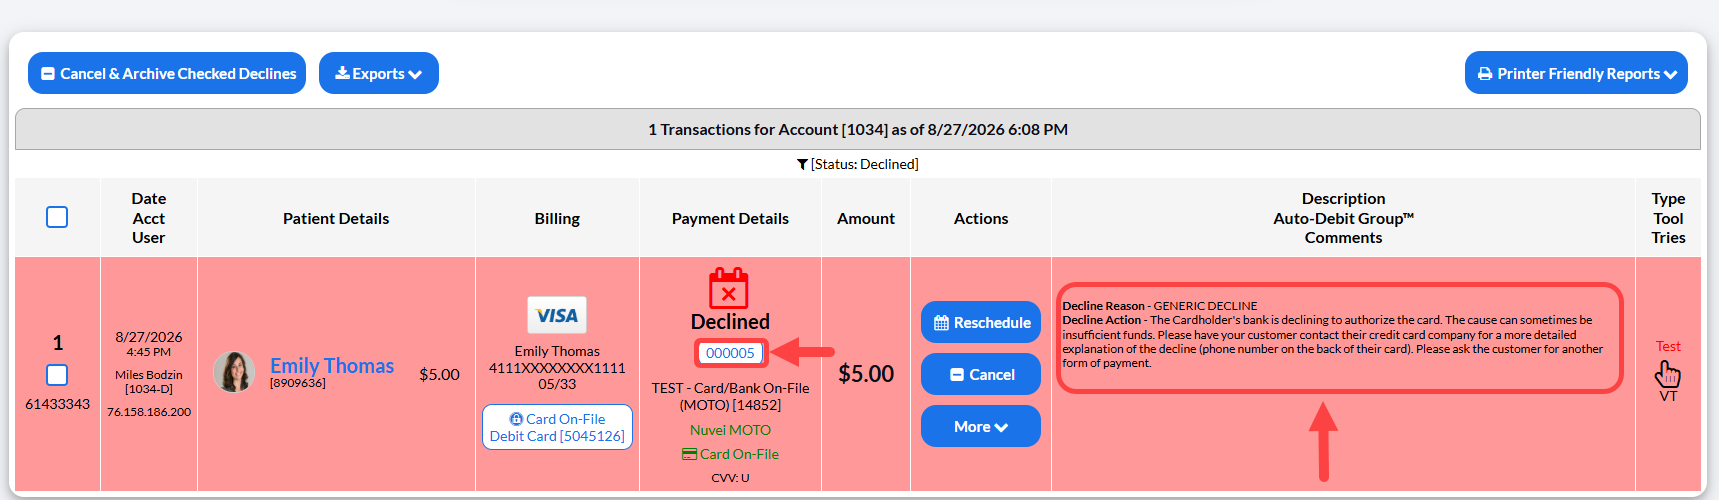
Step 2: Investigate the decline. Identify the cause of a declined transaction using either of these methods:
Review the comments: Check the Description/Auto-Debit Group/Comments column for a explanation.
Look up the error code: Select the code link in the Payment Details column to open the Error Codes Manual.
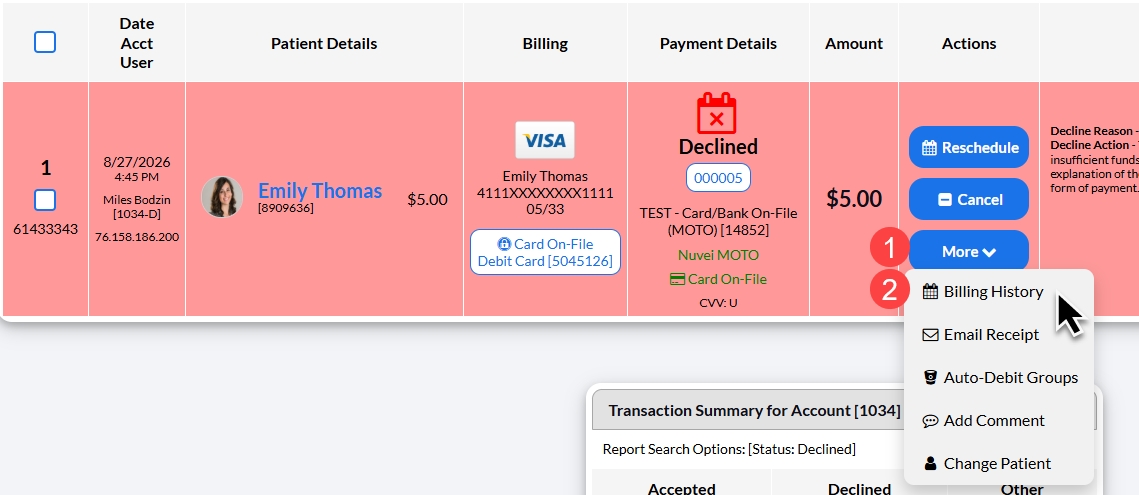
Step 3: Check payment history for manually processed transactions or alternative payments collected.
Before canceling or rescheduling, verify if the balance was already settled through another method:
Check Billing History: Go to [More], then select Billing History to see if an additiona payment was made to reconcile the decline.
Check the Patient EHR: Review the patient's electronic health record to ensure the payment wasn't collected over the counter via cash or check.
Next Steps Based on Your Review:
If a payment was already made: No further action is needed—do not retry or reschedule the charge.
If no payment was made: Proceed to Step 4: to cancel or reschedule the declined transaction as appropriate.
Step 4: Take action - Reschedule or Cancel:
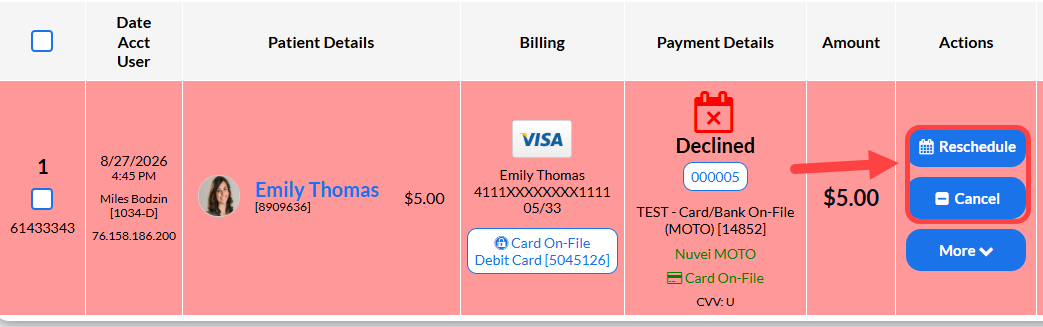
Option 1: Reschedule
Click the [Reschedule] button, to reprocess the transaction.
The Reschedule Tool allows you to manage payment details before processing:
From here, you can update the following for the rescheduled payment:
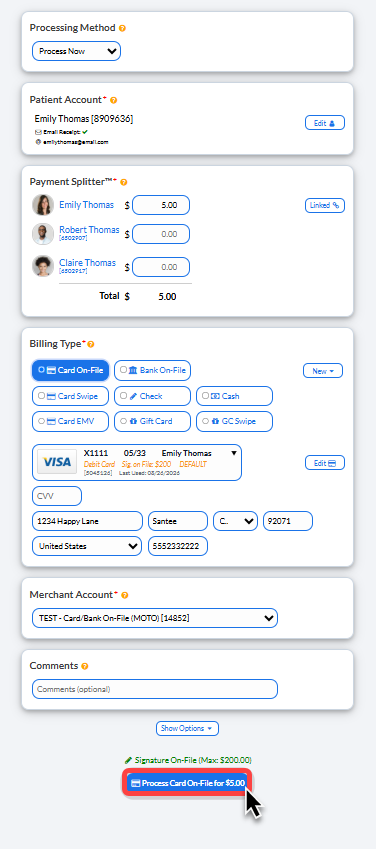
Processing Method | Choose to Process Now or Schedule Later |
Payment Splitter | You can change the dollar amount or split the payment between linked patient accounts if needed. |
Billing Type | If making no other changes, ensure the patient's preferred method (Card On-File or Bank On-File) is selected. |
Merchant Account | The system will default to the appropriate merchant account, however, if your office has multiple merchant accounts you can select it here. |
Comments (optional) | Add a comment on the transaction. |
Show Options (optional) | This will allow you to assign Patient Groups, Drip Ed Campaigns, Auto-Debit Groups, and Care Plan Options |
Click [Process Card on File] to complete the rescheduled payment.
Note: For Auto-Debit declines where card details are updated, check [Save Changes In Patient's Scheduled Auto-Debit ID: XXXXXXXX] to apply this card to all future auto-debits.
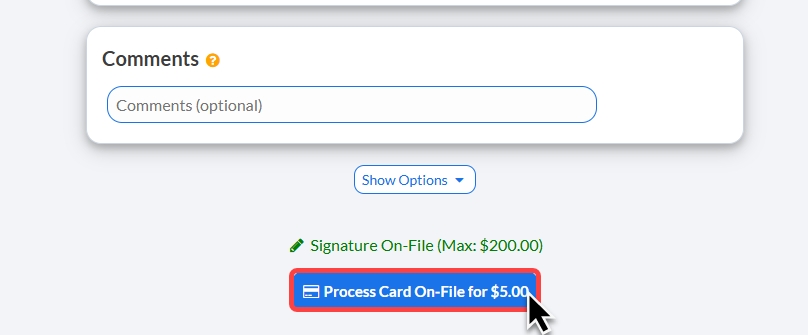
If you chose [Schedule Later], the rescheduled payment will show as "Pending" until it batches out with the rest of your transactions either tonight (tomorrow morning, if it's an Auto-Debit) or on the date it is rescheduled for.
Option 2: Cancel
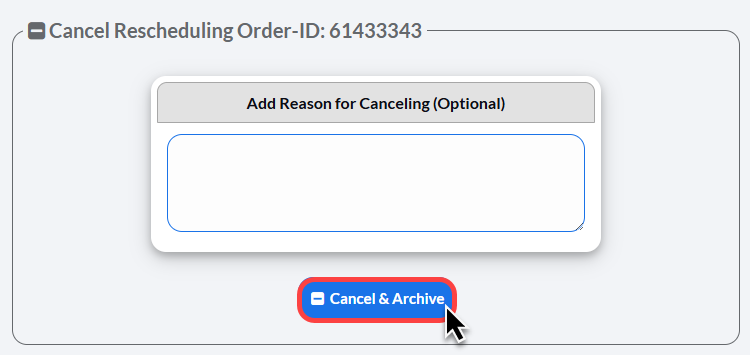
Click [Cancel] to cancel the transaction. Use this option if the patient pays via another method (e.g., cash, check, Virtual Terminal, Swiper, or EZ Swiper or if you choose not to process the payment through Cash Practice
Note: We strongly recommend adding a comment explaining why the transaction was canceled and how the payment was collected before completing the cancellation.
If canceling an Auto-Debit, click [Remove Alert] after the transaction is canceled
Alternative Option: Pay Online via [Email Receipt]
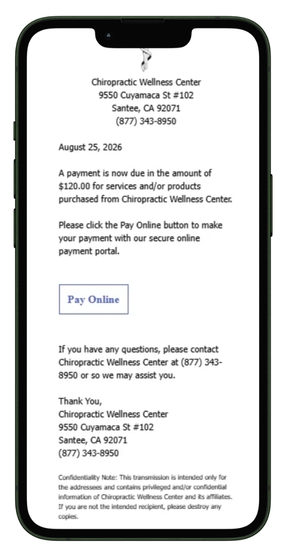
By default, your account automatically emails patients when an auto-debit declines, prompting them to reprocess the transaction using their card on file or a new one.
If this feature is turned off, go to the decline, select [More], and click [Email Receipt]. This sends an email with a "Pay Online" button so the patient can reprocess the payment and optionally update their card on file for future auto-debits. . For more information, click HERE.
Once the patient complete the online payment form, the payment will reprocess and it will also give the patient the option to update the card on file for future payments if it's part of an Auto-Debit.
Note: The original declined transaction will automatically be archived on the Posted Payment Report Generator.