
Before you're able to process any transactions you must first:
Have an active subscription and merchant accounts turned on in the Auto-Debit System
Complete the integration setup
INSTRUCTIONS:
New Patients:
After you've entered the new patient's demographic information into ChiroHD, they will automatically be added to Cash Practice when you use any of the Auto-Debit System payment tools. Yay!
Existing Patients:
Patients will automatically be added to Cash Practice when you use any of the Auto-Debit System payment tools, just like with new patients.
Existing patients added to Cash Practice prior to your integration will not automatically have their patient ID updated when using the payment tools. To prevent duplication, manually add the patient ID from ChiroHD, into Cash Practice by following the instructions below
Getting Started:
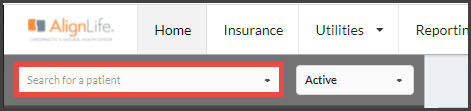
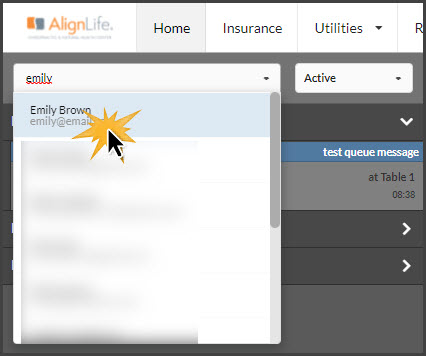
Step 1: From ChiroHD, use the search field to the left of the schedule to locate the patient whose patient ID number needs to be added for, and select them from the drop-down menu.
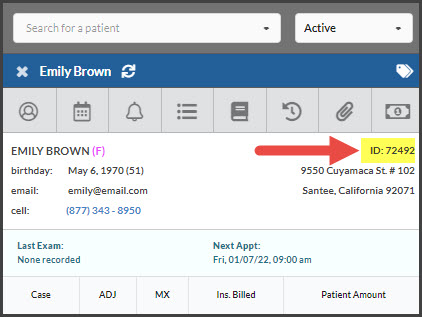
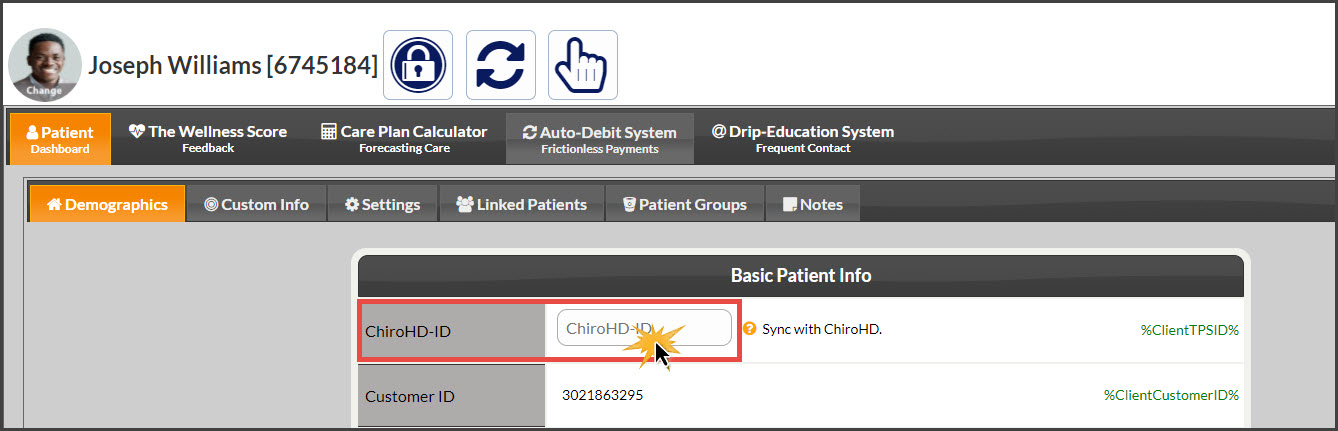
Step 2: Once loaded, locate the ID number underneath the dollar sign button. Highlighted in the example image below:
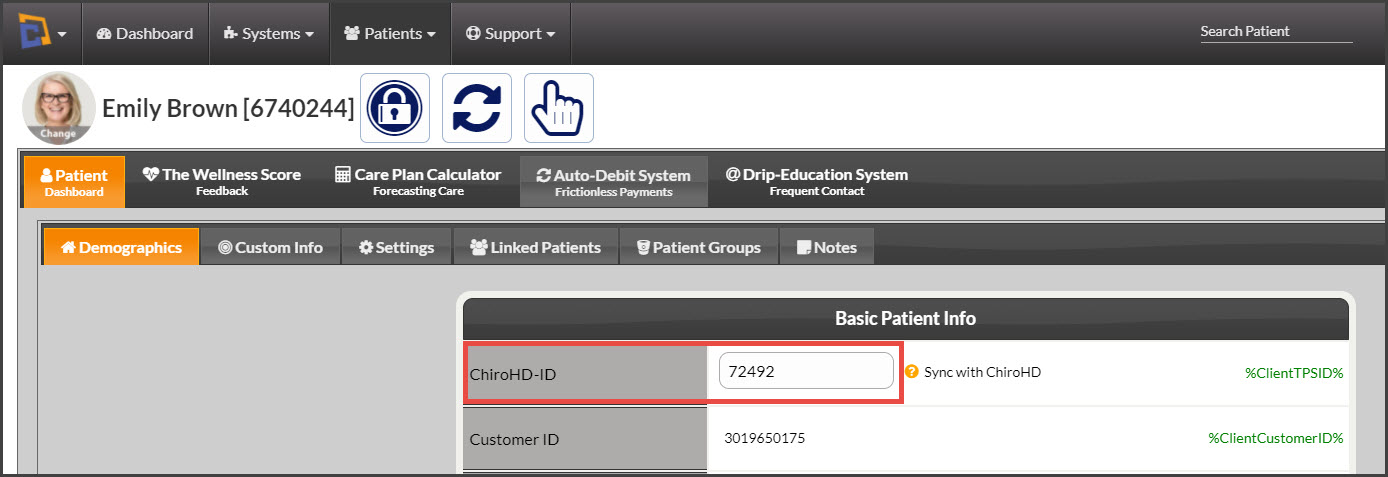
For those users needing to update this ID in your CashPractice.com account, click HERE. And see the image below as an example:
Missing ChiroHD ID: If your office runs a transaction directly in Cash Practice before your integration is completed, or a transaction was run directly in our program without adding their ID, the patient's record in our system needs to be updated so their payment(s) can be imported/posted to ChiroHD.
Step 1: From the transaction on the Posted Payments Report, click on the button, [Missing ChiroHD-ID].

Step 2: Add this by following all the initial steps in this article, locating the ID in ChiroHD, then adding it in the location below:
Step 3: Be sure to scroll to the bottom of the Patient Record and click [Save]. Exit out of the screen and the page will update.