
Before you're able to process any transactions you must first:
Have an active subscription and merchant accounts turned on in the Auto-Debit System
Complete the integration setup
INSTRUCTIONS:
New Patients:
After you've entered the new patient's demographic information into PayDC, they will automatically be added to Cash Practice when you use any of the Auto-Debit System payment tools. Yay!
Existing Patients:
Patients will automatically be added to Cash Practice when you use any of the Auto-Debit System payment tools, just like with new patients.
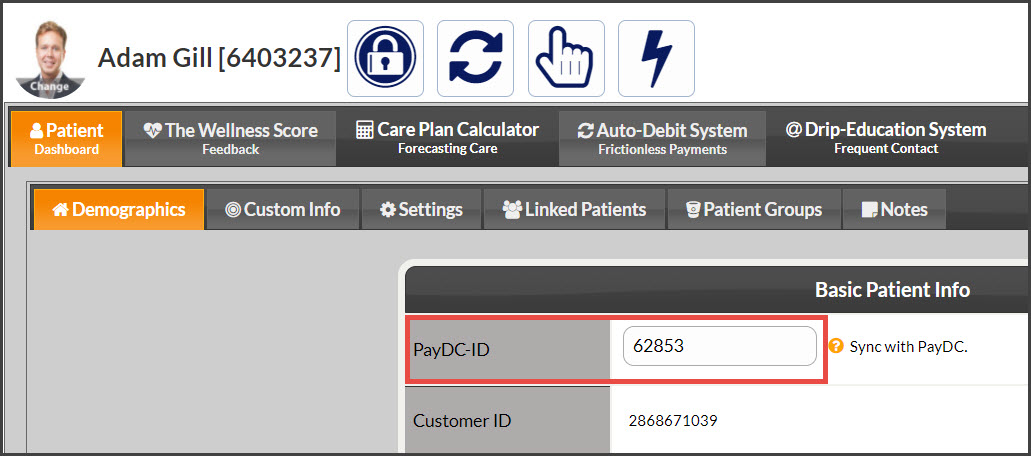
Existing patients added to Cash Practice prior to your integration will not automatically have their [Patient ID] updated when using the payment tools. To prevent duplication, manually add the [Patient ID] from PayDC into Cash Practice by follow the instructions below.
Getting Started:
Step 1: From PayDC, locate the patient by searching for them under [Patient Account].

Step 2: Once you've located the patient, locate the "Patient ID" number underneath the "Primary Phone".
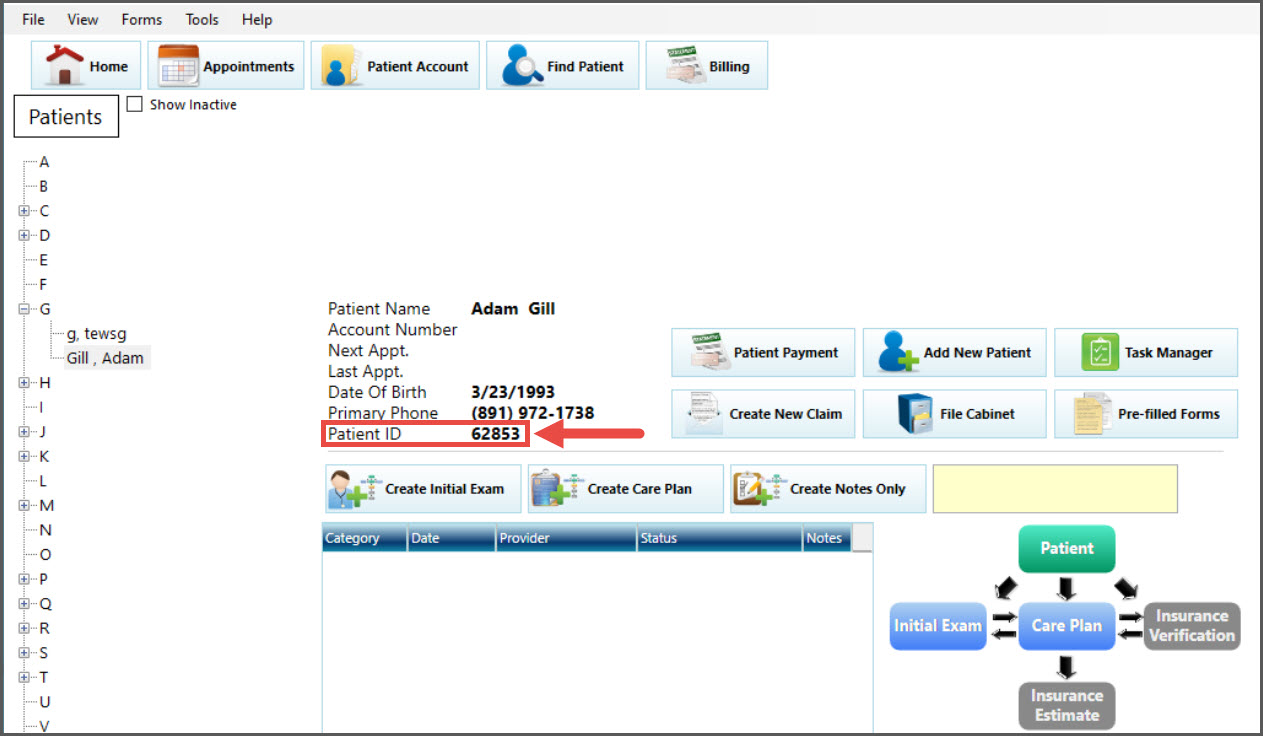
For those users needing to update this ID in your CashPractice.com account, click HERE. And see the image below as an example: