
In the Auto-Debit System ® Virtual Terminal, you can debit any checking or savings bank account that has a routing & account number.
Getting Started:
Click on the Virtual Terminal shortcut in the top, right-hand side of the navigation menu.

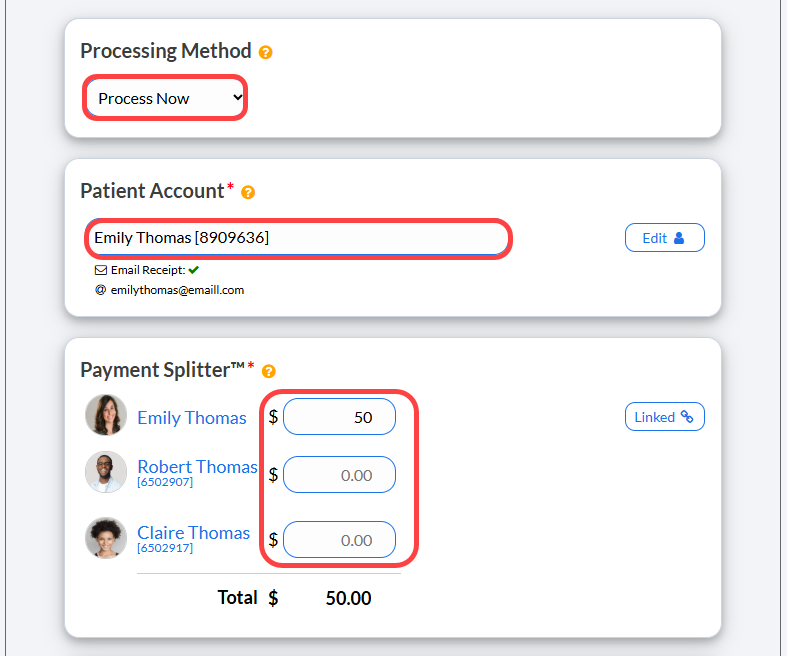
Step 1 : Proceed to fill out the required fields for the transaction.
For complete instructions for using the Virtual Terminal, refer to this article: How do I use the Virtual Terminal?
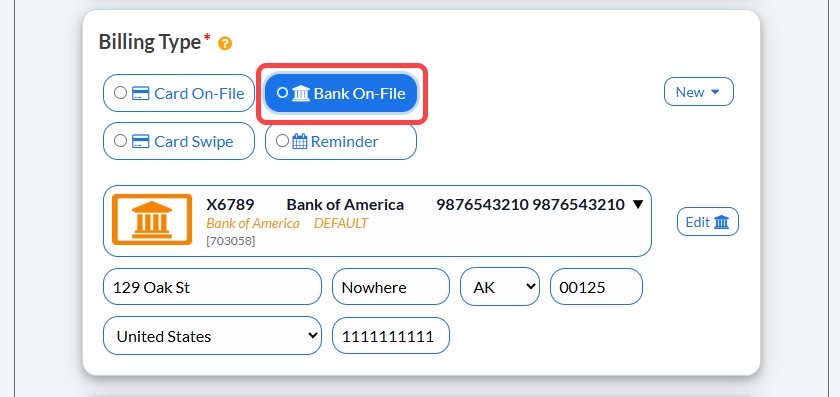
Step 2: Select your option for either adding a new Bank Account or using a Bank on File:
Select Bank on File as the Billing Type:
Or to Add a New Bank Account:
1. Select the [New] Button on the right hand side
Select [Bank Account], then enter in the patient's Bank Account billing information.
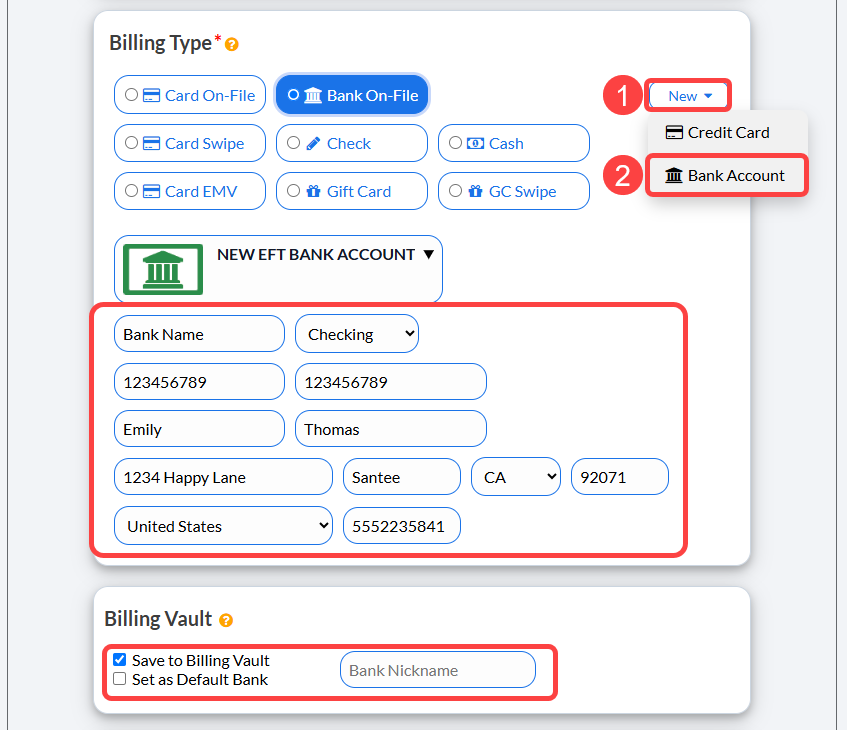
In the Billing Vault Section you can select to [Save to Billing Vault] to keep the bank account on file for future payments. You may also [Set as Default Bank] and add a Nickname to easily recognize the bank account.
Step 3: Proceed to complete the required criteria. Comments are optional.
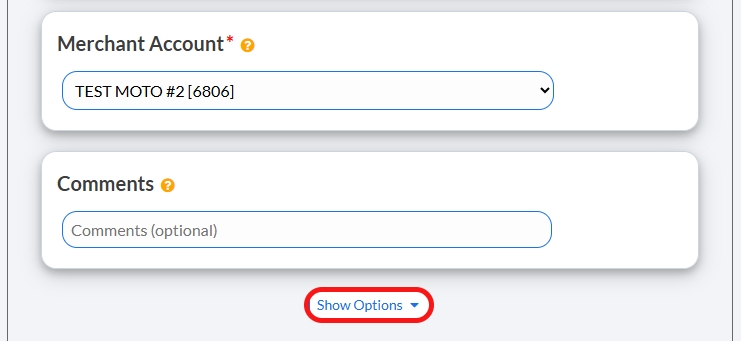
Merchant Account: The defaulted merchant account will be displayed, but if using multiple merchant accounts with us, make the correct selection here.
For more information, contact our Merchant Services Department: (877) 343-8950 x102
Outside Continental US: (619) 569-1639
Email: MerchantAccounts@CashPractice.com
OPTIONAL: By clicking the [Show Options] drop-down, you canto assign auto-debit groups, Drip-Education campaigns for frequent contact, Patient Groups to better organize your patient lists.
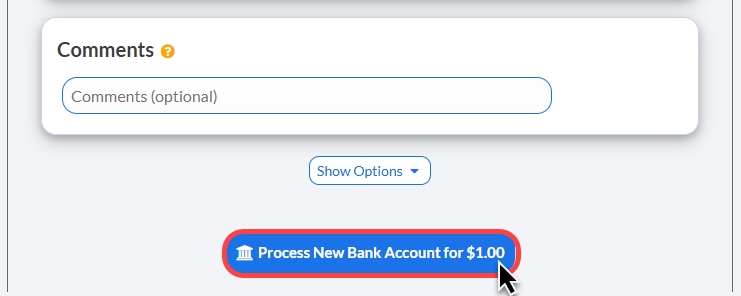
Step 4: Click the [Process] button at the bottom of the screen.
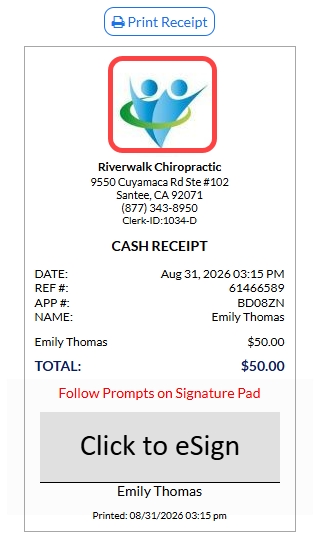
Step 5: Print the receipt by clicking on the [Logo] or the [Print Receipt] button.
(OPTIONAL) Capture the [e-signature] from the patient.