
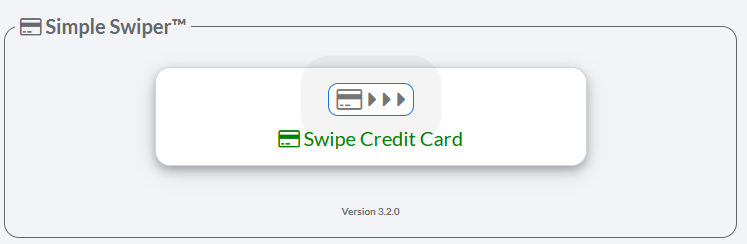
When to use the Simple Swiper™
If you have the card in hand, you should use the Cash Practice® USB Card Swiper. Swiping the card will also give the lowest rates possible for processing. The Simple Swiper™ is an easy-to-use one-time payment tool for swiping credit cards. Don’t let its name fool you though. Although it’s simple, it’s very smart. Here’s why – it will automatically select the patient record that most closely matches the card or you can have it create a new patient account automatically. How do I set up the credit card swiper?
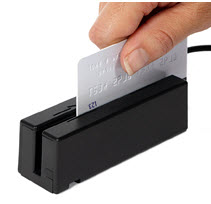
Note: Make sure your Cash Practice® USB Card Swiper or Scriptel Signature device is plugged into the USB port on the computer you will be using. When the swiper is ready to use you will see it lit with a green light. If you're using the swiper remotely click HERE.
Start here: From the navigation menu, click on the Simple Swiper icon to open the tool.

Step 1: Swipe the Credit/Debit Card through the USB Card Reader.
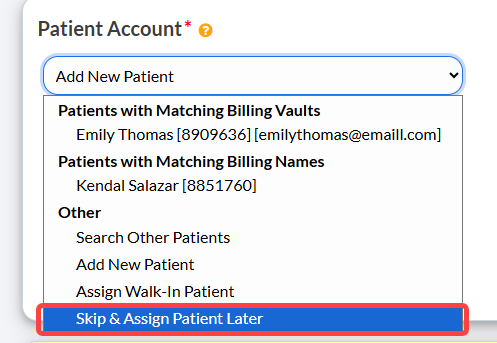
Step 2: Attach the Patient's Account. See the options and descriptions below:
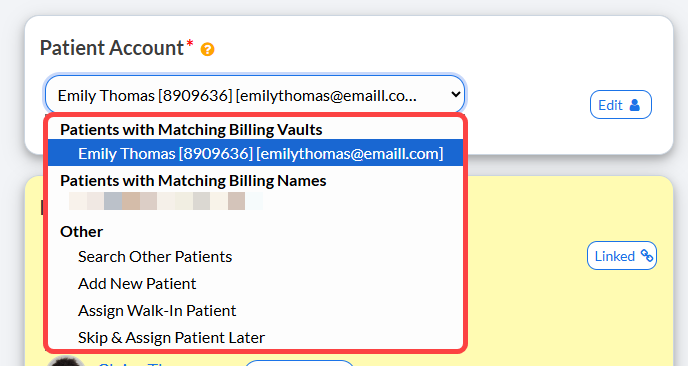
The Simple Swiper™ automatically searches your patient database for a matching account as soon as a credit or debit card is swiped.
If matches are found, they appear in the Select Patient Account menu, ordered by likelihood with the best option preselected:
1. Perfect Match | Both the card number and cardholder name match an existing patient record. |
2. Patient with Matching Billing Vaults | The card number matches a record under a different patient (e.g., a card on file for a spouse or family member). The card number matches, but the name differs. |
3. Patient with Matching Billing Names | A patient record shares the exact name on the card, but the card number on file does not match. |
If none of the matches are what you need and you want to record this for a new patient, you have three options for handling how the transaction will be assigned.
Skip & Assign To Patient Later:
The payment will process, but it won't link to a patient account yet.
To upload payments to your patient management software or archive them, you must first assign the transaction to a patient. Unassigned payments can be found on your Posted Payments Report™.
Click HERE for instructions on how to assign Simple Swiper payments to a patient account.
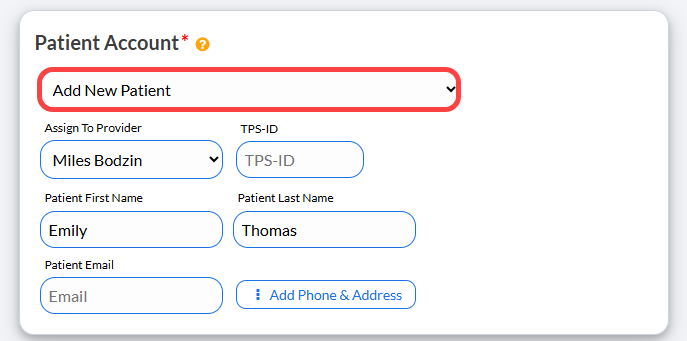
Add New Patient & Assign Payment
A new patient record will be automatically created using the name on the credit card.
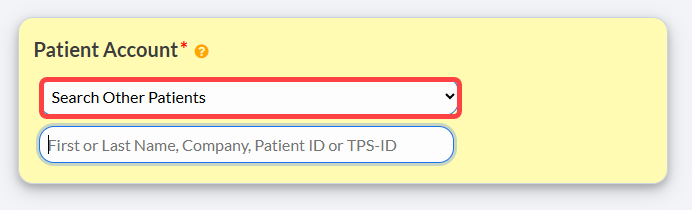
Attach to Existing Patient - Attach the payment to a current patient, by selecting the patient from the menu.
Step 3: Enter the dollar amount into the Payment Splitter.
If you are not splitting the payment between multiple linked patients, leave the fields blank for the linked patients.
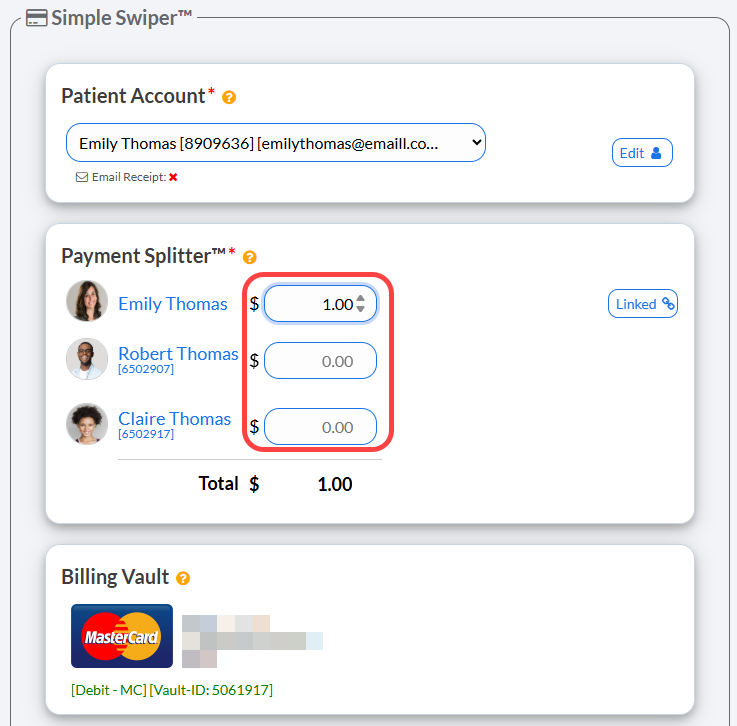
Note: The Billing Vault section will display the card details.
Step 4: The default Merchant Account will be automatically selected. If you need to choose an alternative merchant account, click the drop down menu to select.
(Optional) Leave a comment on the transaction.
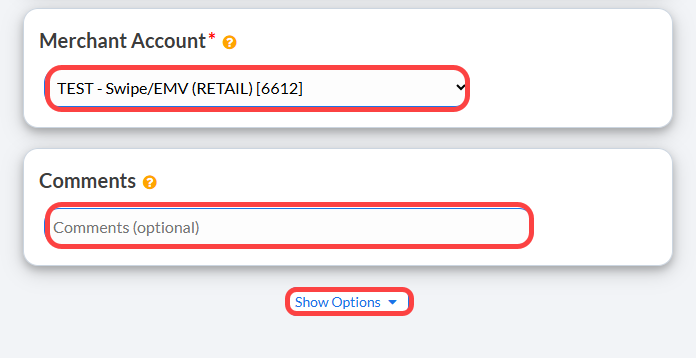
(Optional) Show Options: By clicking the drop-down, you have the capability to assign Auto-Debit groups, Drip-Education campaigns for frequent contact, and Patient Groups to better organize your patient lists.
Step 5: Press [Process Swiped Card] to process the transaction.
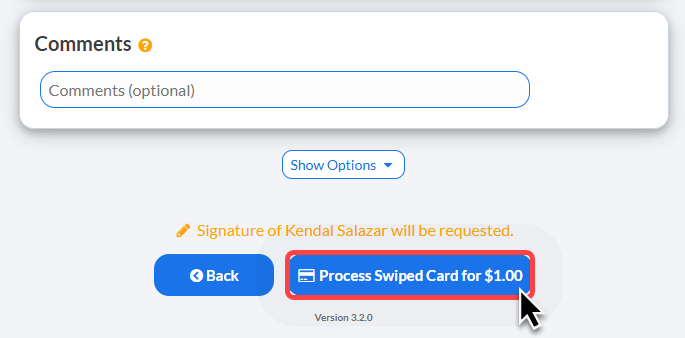
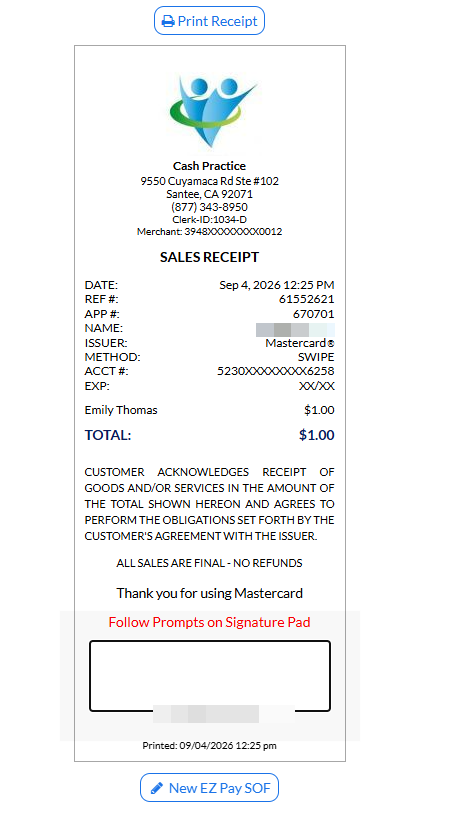
Step 6: Print the receipt by clicking on the [Logo] or the [Print] button at the top.
(Optional) Capture the [e-signature] from the patient.