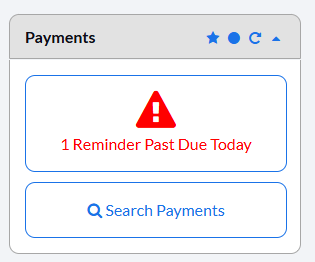

Auto-Debit Reminders are to be used when the patient has a recurring payment that needs to be collected over the counter. A REMINDER WILL NOT COLLECT PAYMENT, it is simply a reminder to YOU that the payment is due. A reminder will be emailed to both the Admin and Account Users (with permissions) as well as displayed on the dashboard.
[Start Here] Select the Auto-Debit Scheduler™ icon, located at the top-right corner of your Dashboard screen.

Step 1: Select Auto-Debit Details.
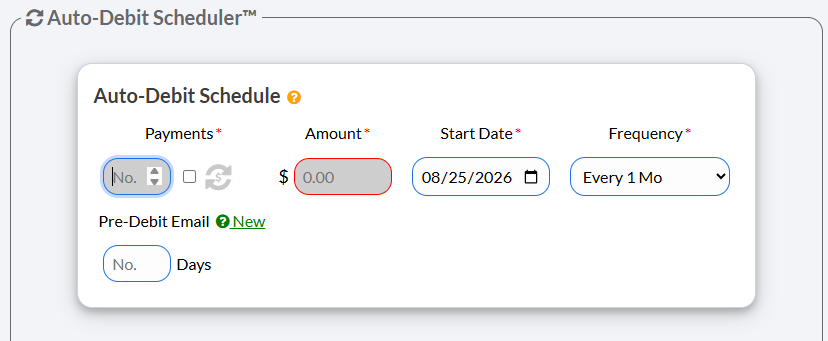
Payments | Enter the number of payments for the scheduled auto-debit or check the [Indefinite] box to have the payments go forever. |
Amount | Enter the dollar amount for the payment |
Start Date | Click the date to open the calendar and select the date the payments will begin. |
Frequency | Select how often you would like the payment to occur. |
Pre-Debit Email (optional) | Enter the number of days in advance to send a reminder email, which includes a link to update their billing details. |
Step 2: Enter the Patient Account.
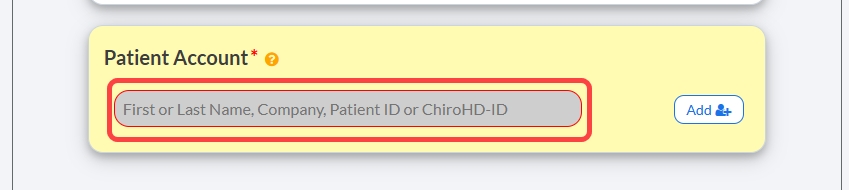
Patient Account | The menu will search for patients that match the information entered into the field. Enter the patient's first name or last name, company, patient ID, or TPS ID, then select their patient account from the menu. |
[Add +] Button | If this is a new patient and they do not have a patient account yet, the drop-down menu will display "CLIENT NOT FOUND" if you try searching their name. Click on the [Add] button to the right to add a new account. |
(Optional) Then, allocate any split payment amounts in the payment splitter. If you are not splitting the payment, leave as is.
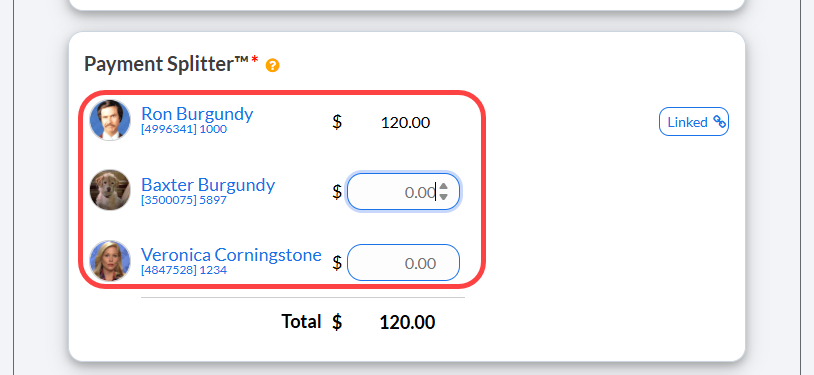
Payment Splitter | Enter the amount allocated to each linked patient. |
[Linked] Button | Click this button to link patients or view linked patients. |
Step 3: Select [Reminder] as your Billing Type.
Auto-Debit Reminders are to be used when the patient has a monthly payment but it is not running automatically in Cash Practice® (i.e. over the counter with a check or cash). A REMINDER WILL NOT COLLECT PAYMENT.
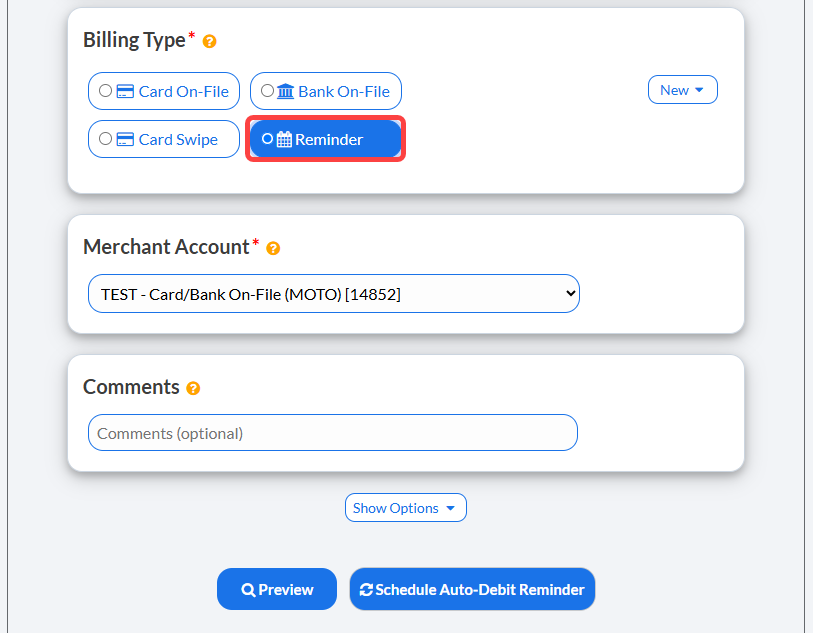
Merchant Account | The defaulted merchant account will be displayed, but if using multiple merchant accounts with us, make the correct selection here. |
Comments (optional) | Leave a comment if needed. Any comments added, will not be seen by the patient. |
OPTIONAL: By clicking the [Show Options] drop-down, you canto assign auto-debit groups, Drip-Education campaigns for frequent contact, Patient Groups to better organize your patient lists.
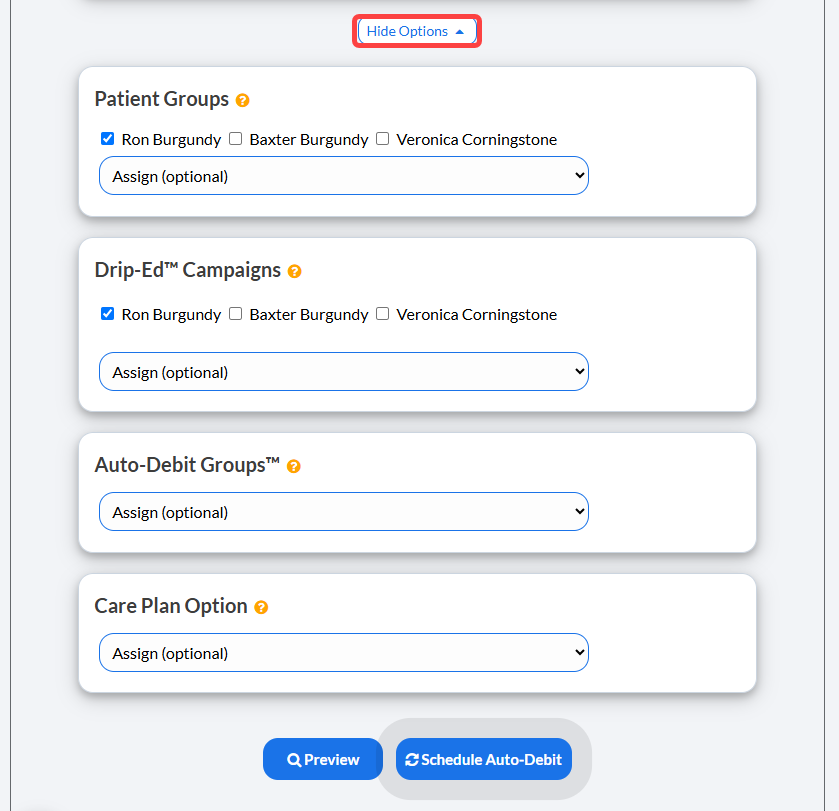
Patient Groups | This allows you to group your patients based on whatever parameters you would like. You can then use this to keep track of your patients and leads and also efficiently target market. |
Drip Ed Campaigns | Requires the Drip-Education Email Marketing System™. We highly recommend you use this feature to continue frequent contact with your patients. |
Auto-Debit Groups | This allows you to categorize your payments into groups. For example, it allows you to track your Chiropractic Services, Massage Services, Products, Locations, etc. |
Care Plan Option | If this Auto-Debit is for an existing care plan created with the Care Plan Calculator® System, indicate the payment option (i.e. Option 1, 2, or 3). This will keep your stats more accurate. |
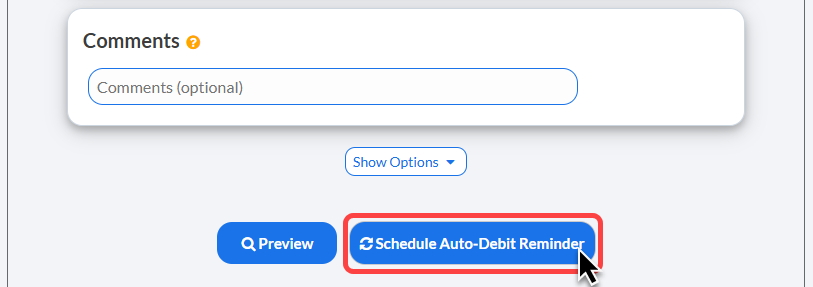
Step 4: Select [Schedule Auto-Debit].
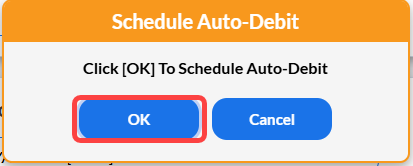
Then click [OK] to schedule your patient's recurring payment.
Or you may select [Preview] to preview the Auto-Debit payment schedule.
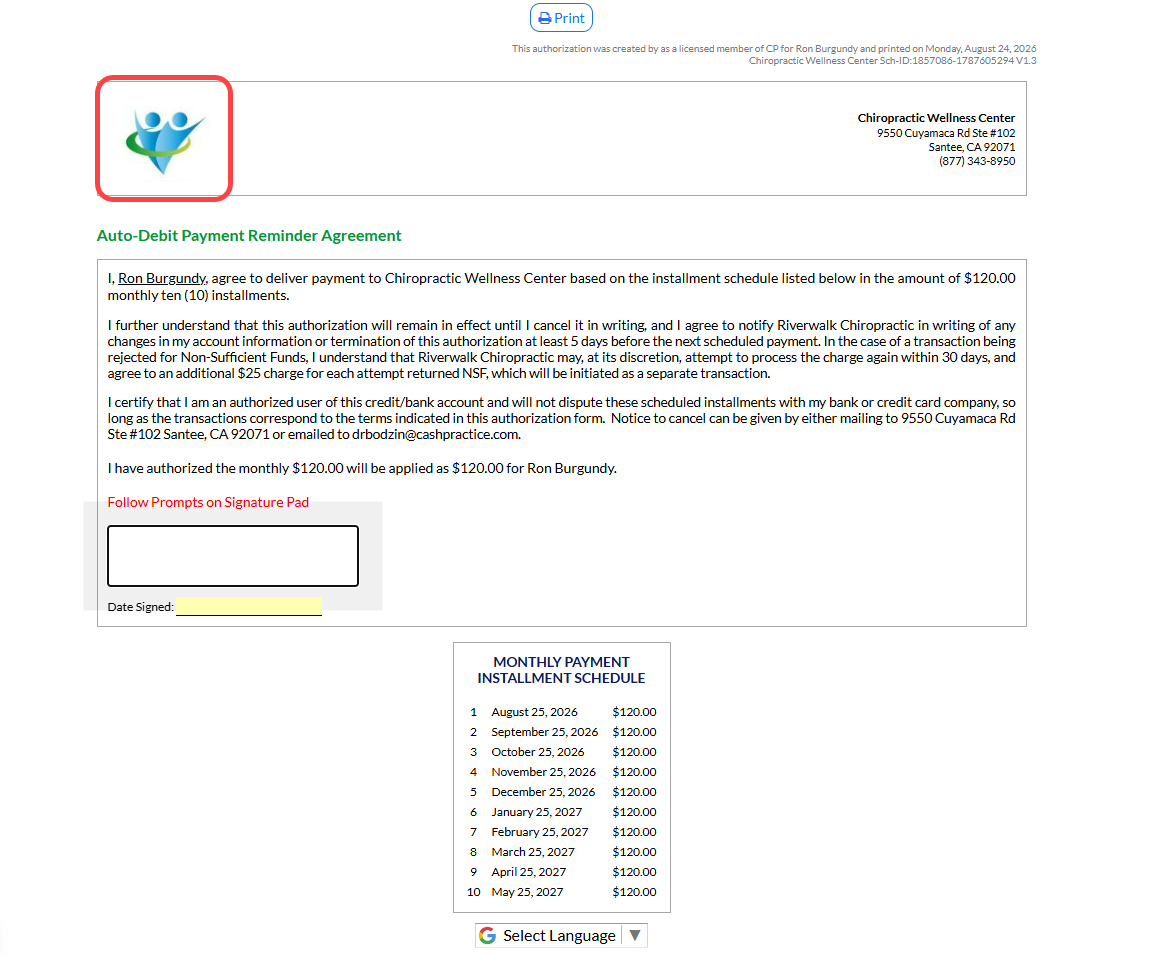
Step 5: Print the Auto-Debit Payment Reminder Authorization form by clicking on the [Logo] located on the left side of the page. Or select the [Print] button at the top of the page.
Your may also capture the [e-signature] from the patient directly on this page.
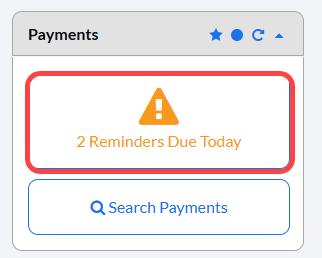
When the payment is due, an alert message will appear on the Dashboard, under the Payments section, notifying you to take action:
If action is not taken on the payment reminder - you will see this Past Due notice on your Payments Report.