IMPORTANT!

Before importing your patients, please make sure that you have enough space in your account to accommodate the file. *Additional fees may incur to increase your Cash Practice® patient database size.
We do not recommend that you import inactive patients unless you are using the Drip-Education® Email Marketing System.
If you're only using the Auto-Debit System® or Care Plan Calculator® System, there is no reason to import a huge list of patients when only a handful of them will be on a payment plan.
The file type must be a Comma Separated Value (CSV) file format.
Your CSV file must have the following as the first row (header) of data or it will not import:
"ClientID","TPSID","Email","FirstName","LastName","Address","City","State","Zip","Phone","WorkPhone","Cell", etc.
In Step 4 see the button [Sample CSV Text File] for the full header
You only have to include the fields your data contains.
If you need any assistance, please email Support@CashPractice.com.
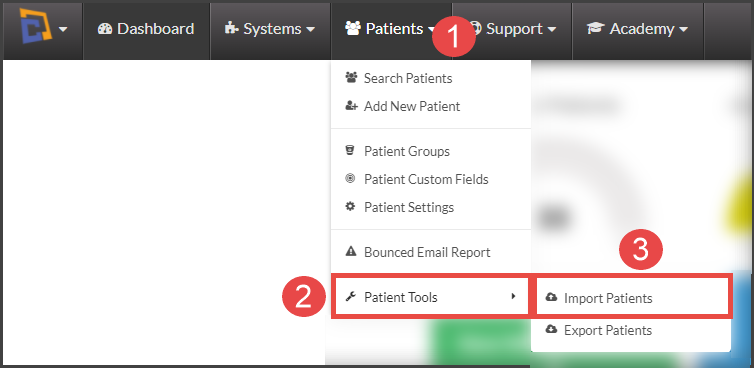
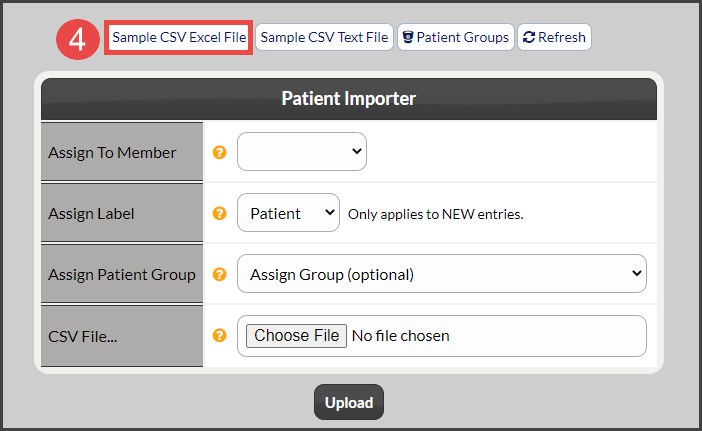
Step 1: Download the sample file and save it to your computer → Log into your Cash Practice account → Hover over the [Patients] menu (it might say "Clients" or "Practice Members" depending on which one you set up your account to say) → Hover over [Patient Tools] → Click on [Import Patients] → Click on the [Sample CSV Excel File] button located near the top middle of the page. This will save the sample as a download, onto your computer.
Step 2: Insert your patient's information into the corresponding columns (i.e. First name, Last name...).

Important: To make sure your Excel file is in the correct format please follow the steps below:
Click on the first box on the Excel sheet (A1) so that box is selected.
Click the "Data" tab at the top of the Excel sheet.
Select the "Text to Columns" and in the first step make sure "Delimited" is selected and hit "Next".
Under "Delimiters", the only box checked should be "Comma" then hit "Next".
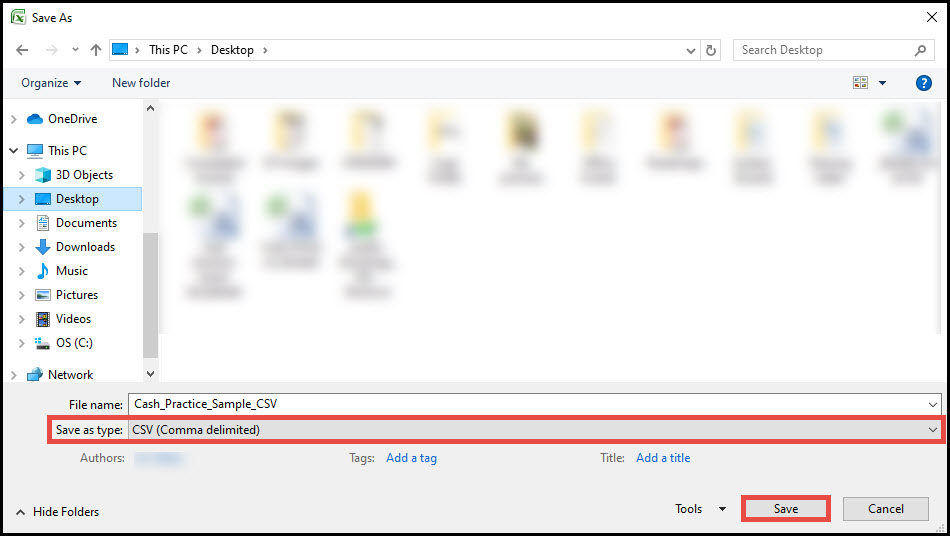
Under "Column Data Format" make sure "General" is selected and hit "Finish". Remember: save the file as a CSV (comma delimited) file.
Step 3: Save the file to your computer where you can easily find it. Save the file as a CSV (comma delimited) file.
Step 4: Log into your Cash Practice account and go to the [Patients] menu → Click on [Patient Tools] →[Import Patients].

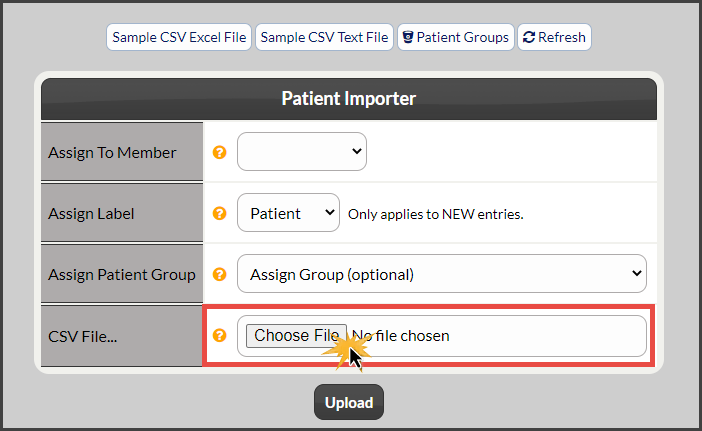
Step 5: Scroll down to the [Patient Importer] and click the [Choose File] button to find the CSV file on your computer.
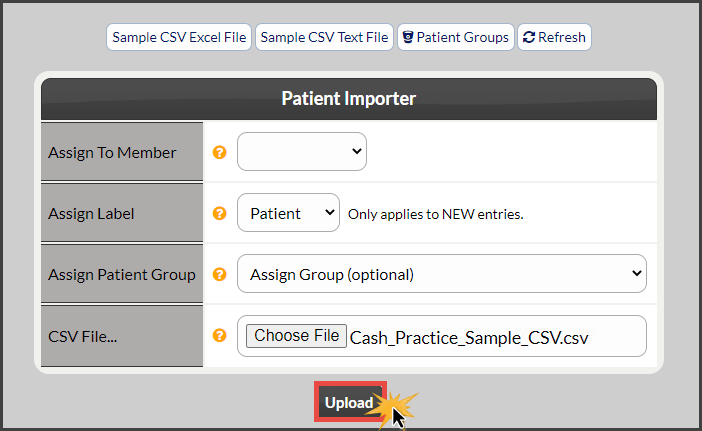
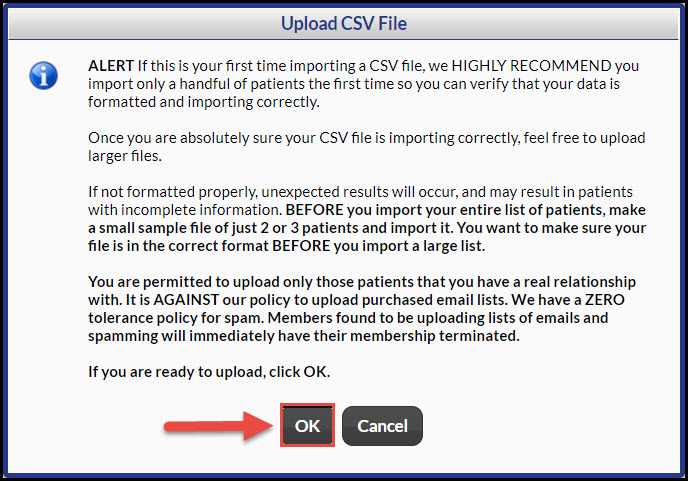
Step 6: Select the file and click [Upload]. A warning box will appear and click [OK]. Your file is now being processed for upload and will be in the system shortly.
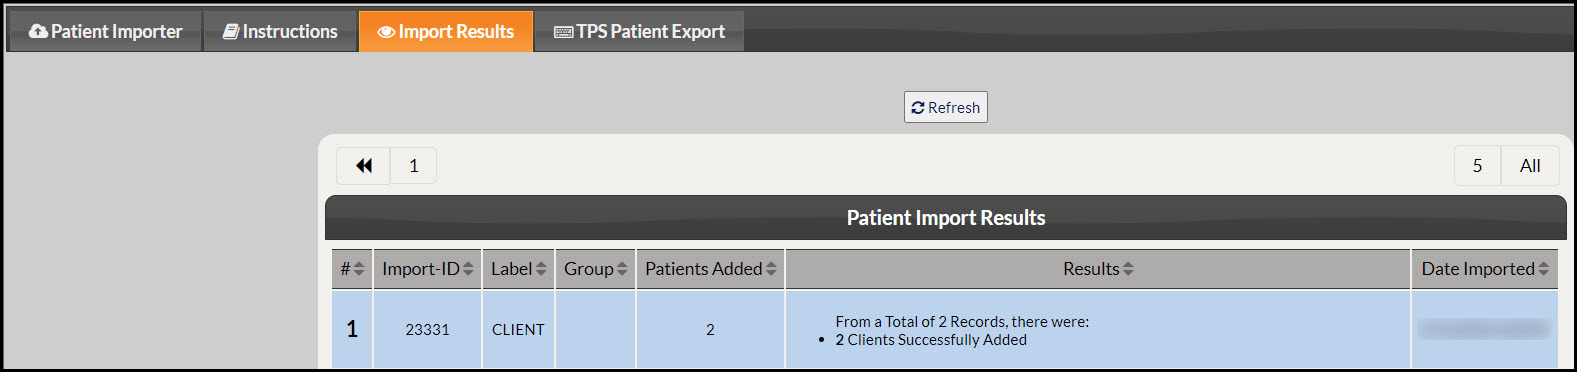
Step 7: To check on the status of your upload, go to [Patients] menu → click on [Import Patient List] → click on the sub-tab that says [Import Results].