

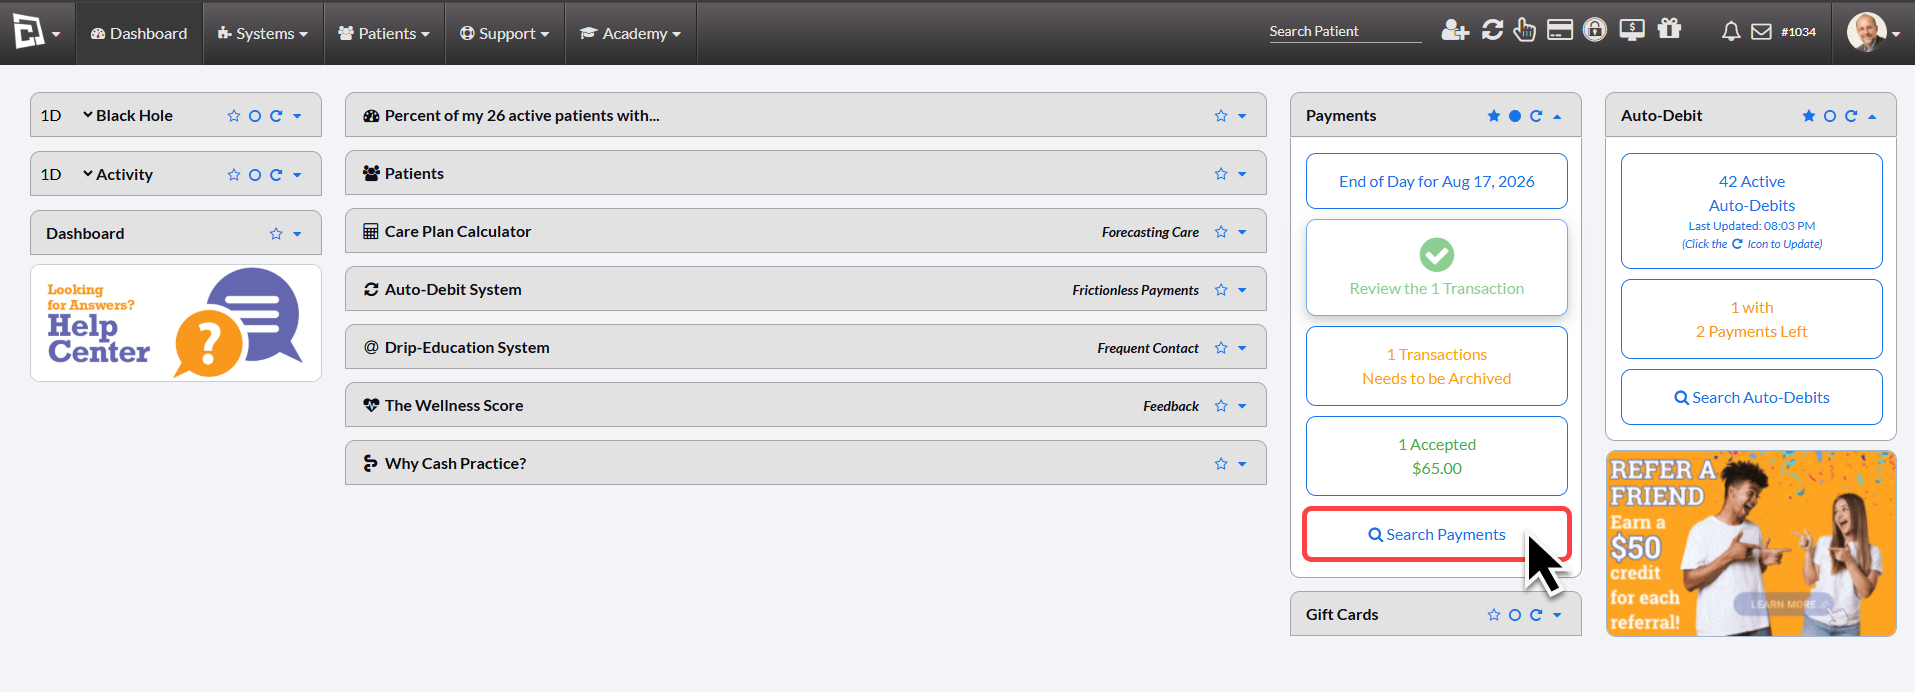
Step 1: When logged into your account: From the Dashboard, click the [Search Payments] button on the right, under the "Payments" section.

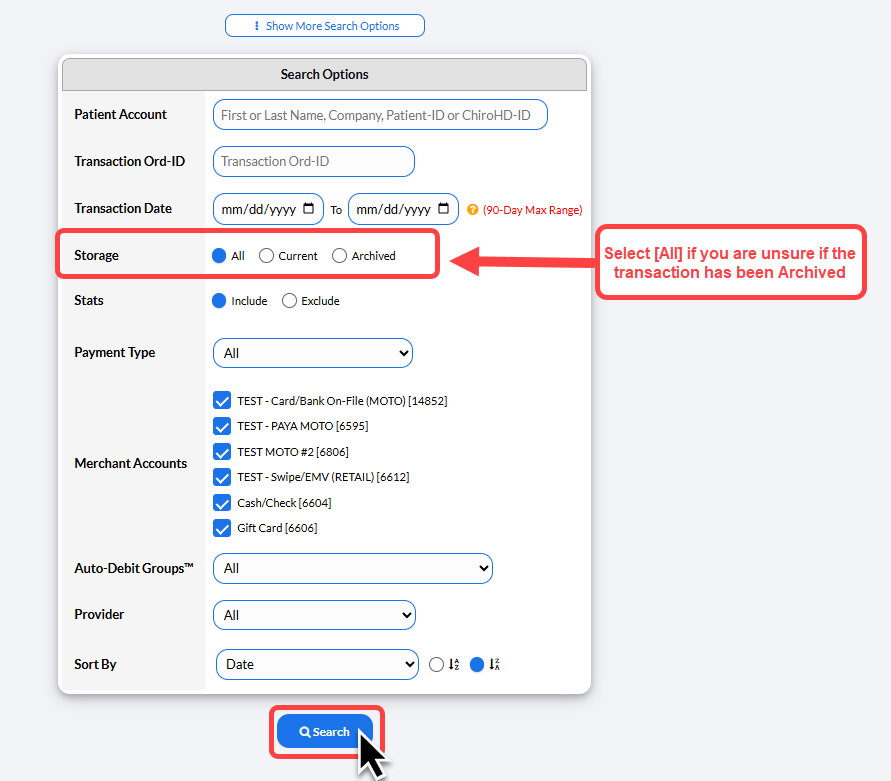
Step 2: Enter your search criteria.
Change the [Storage] field to "All". This will show all current and archived transactions.
For additional search criteria, select [Show More Search Options]. Then click [Search].
Step 3: Locate the transaction you wish to refund and click the [Refund] button in the "Actions" column. This will open the refunder in a new window.
Note: Bank EFT refunds are only possible after 7 days from the original transaction to prevent potential errors for the merchant.

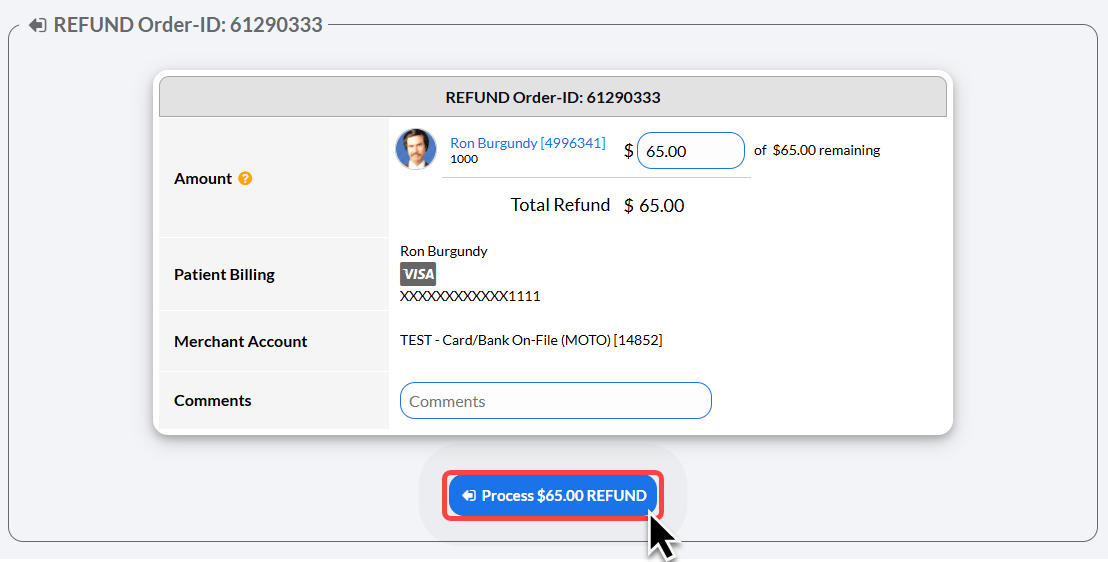
Step 4: Refunds are possible up to the original transaction amount. Select [Process $X.XX REFUND] and click [OK].
Note: To process a partial refund, adjust the [Amount] field accordingly.
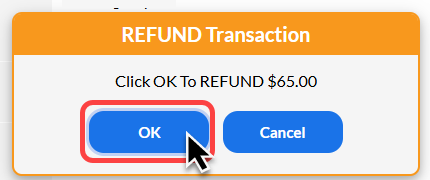
Step 5: Click [OK] to complete the refund.
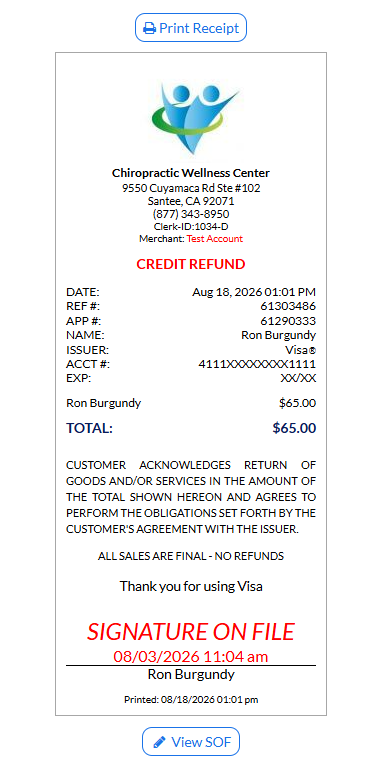
Step 6: After the refund is processed, the receipt will be displayed.
Click the company logo at the top of the receipt to print or select [Print Receipt].
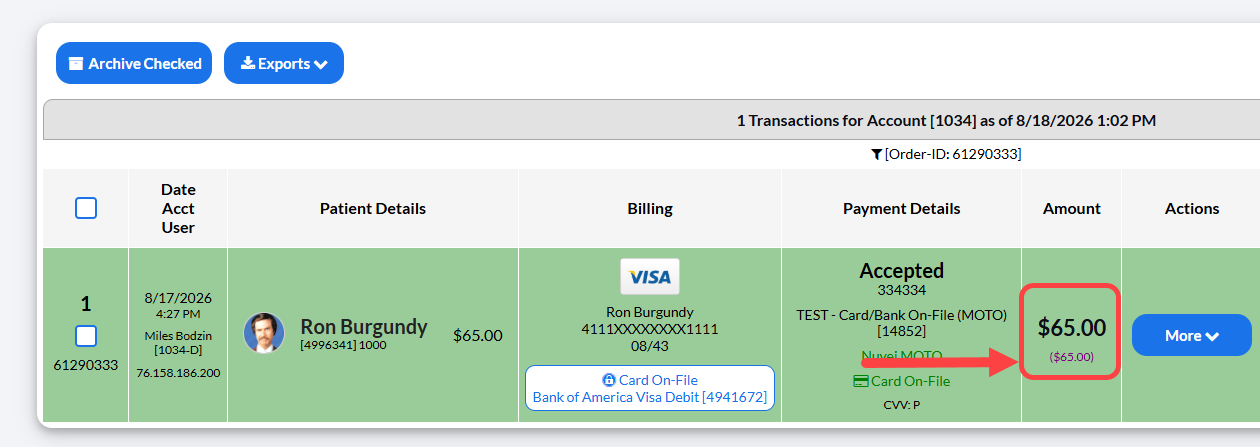
Step 6: The original transaction will update show the refunded amount in purple, in the [Amount] column. This indicates the refund was processed.
The [Posted Payment Report] will update display the refund status as shown below. If your Patient Management software is not integrated, you will need to manually credit the patient ledger.
