
Getting Started: Your Auto-Debit System must be in LIVE mode before you can schedule recurring payments. See HERE if you're still in TEST mode.
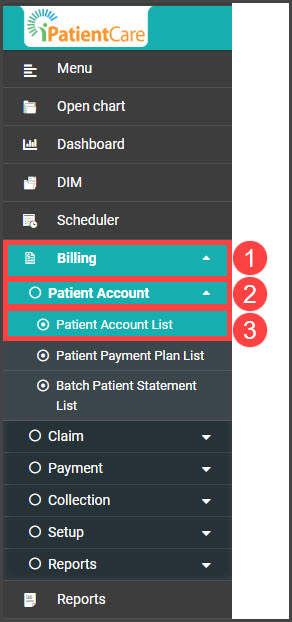
Step 1: From the menu on the left of the screen in iPatientCare, click [Billing] → [Patient Account] → [Patient Account List].
Step 2: Click the [Select Template] field to populate the selection box beneath. Choose "Patient" from the drop-down menu, type in the patient's first or last name, and select the match from the selection drop-down. Click the search button on the top right.

Step 3: Once the match loads, click the auto-debit icon on the right of the screen to open the Auto-Debit Scheduler.

Step 4: Select Auto-Debit options
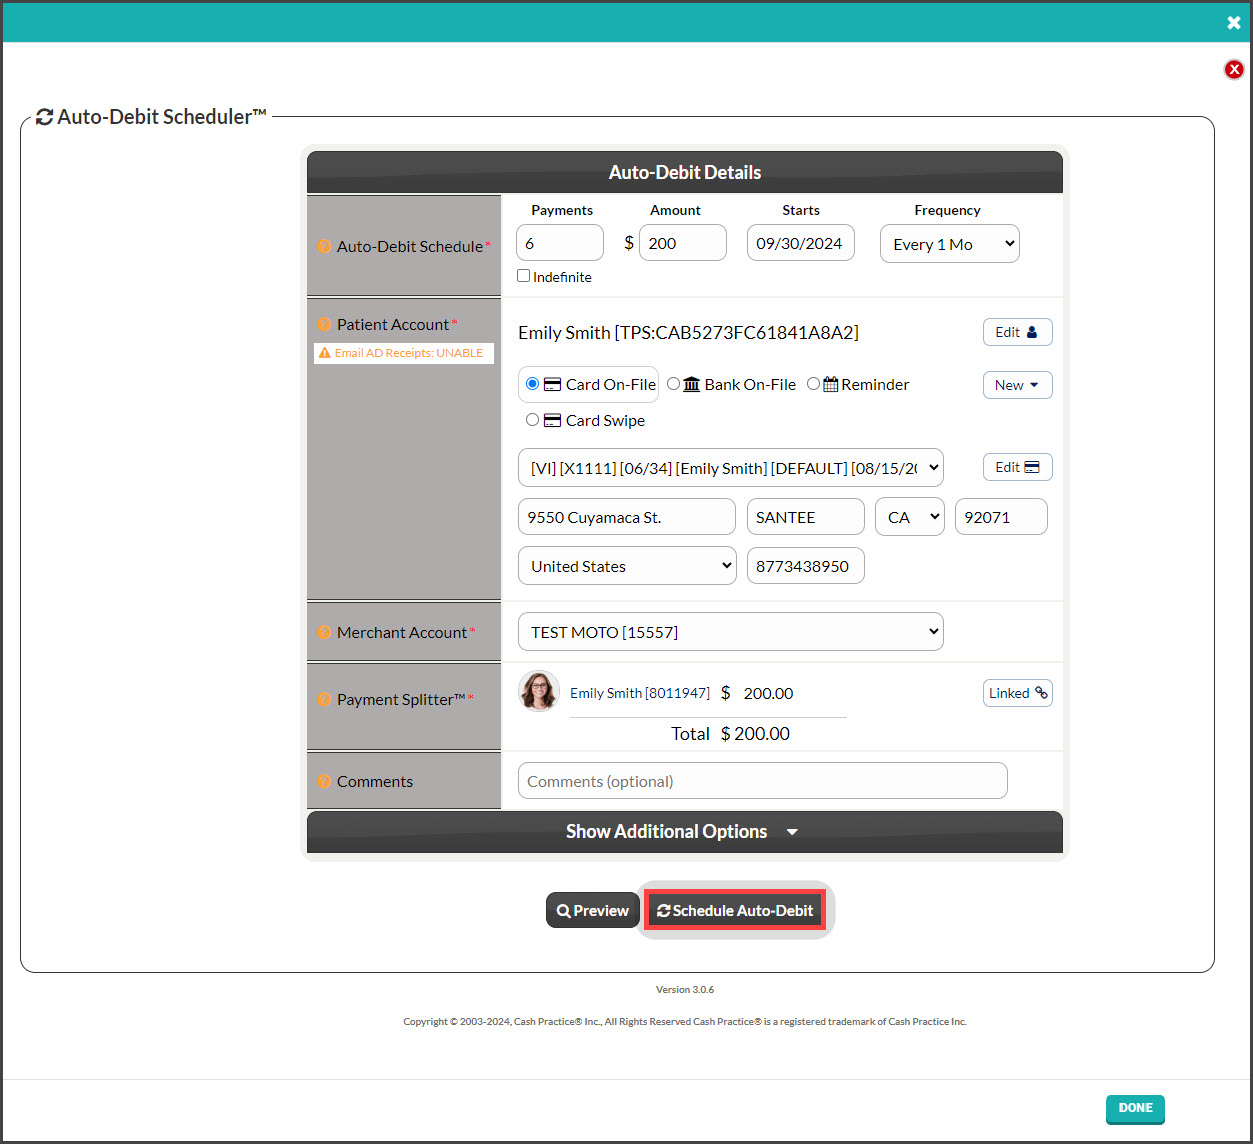
Payments: Enter the number of payments for the scheduled auto-debit or check the indefinite box to have the payments go forever.
Amount: Enter the amount the auto-debit is for.
Starts: Click the date to open a calendar that will allow you to choose a start date. This is when you want the auto-debits to begin.
Frequency: Select the payment frequency (Weekly, Bi-Weekly, Monthly, Bi-Monthly, Quarterly, Semi-Annually, or Annually).
Patient Account: This is pre-selected
Billing Type: Choose from:
Card On-File: (used in this example) Key\-enter the credit card information OR pull stored credit card information previously saved on file in the patient account. Click the [New] button to add new information to the Billing Vault
Reminder: Auto-Debit Reminders are used when the patient has a monthly payment but it is not running automatically in Cash Practice® (i.e., over the counter with a check or cash). Click HERE for instructions on how to schedule Auto-Debit Reminders.
Card Swipe: Use a Cash Practice® USB Card Swiper or Scriptel Signature device to swipe a card and collect payment information for the auto-debit.
Merchant Account: The correct merchant account will be pre-selected by default. MOTO is for card-on-file or manually entered cards, and RETAIL is for physically swiped cards.
If you use multiple merchant accounts with us, make your selection here. For more information, contact our Merchant Services Department by phone at (877) 343-8950 x105) or email MerchantAccounts@CashPractice.com
Comments: (OPTIONAL) Add a comment for your team's eyes only. This will be displayed in the Posted Payments Report when the transaction details are reviewed in the future.
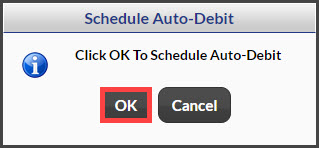
Step 5: Select the [Schedule Auto-Debit] button. Select the [OK] button to proceed.
Step 6: (OPTIONAL) Capture the [e-signature] from the patient.
Step 7: Print the authorization form by clicking on the [Logo] on the left side of the page. Once the scheduled payments run, they can be imported to the patient's account in iPatientCare.
