IMPORTANT: Patients cannot be inactivated if they have an active auto-debit, active email campaign, or any activity within the last 30 days. Click HERE for details. Keep in mind, patients can also be "Reactivated" at any point.
Here are step-by-step instructions:
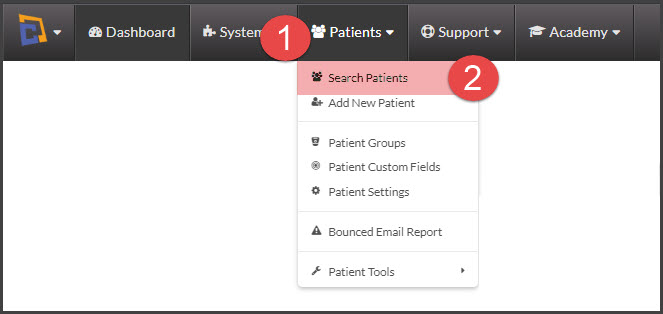
Step 1: From the [Patients] menu → Select [Search Patients].

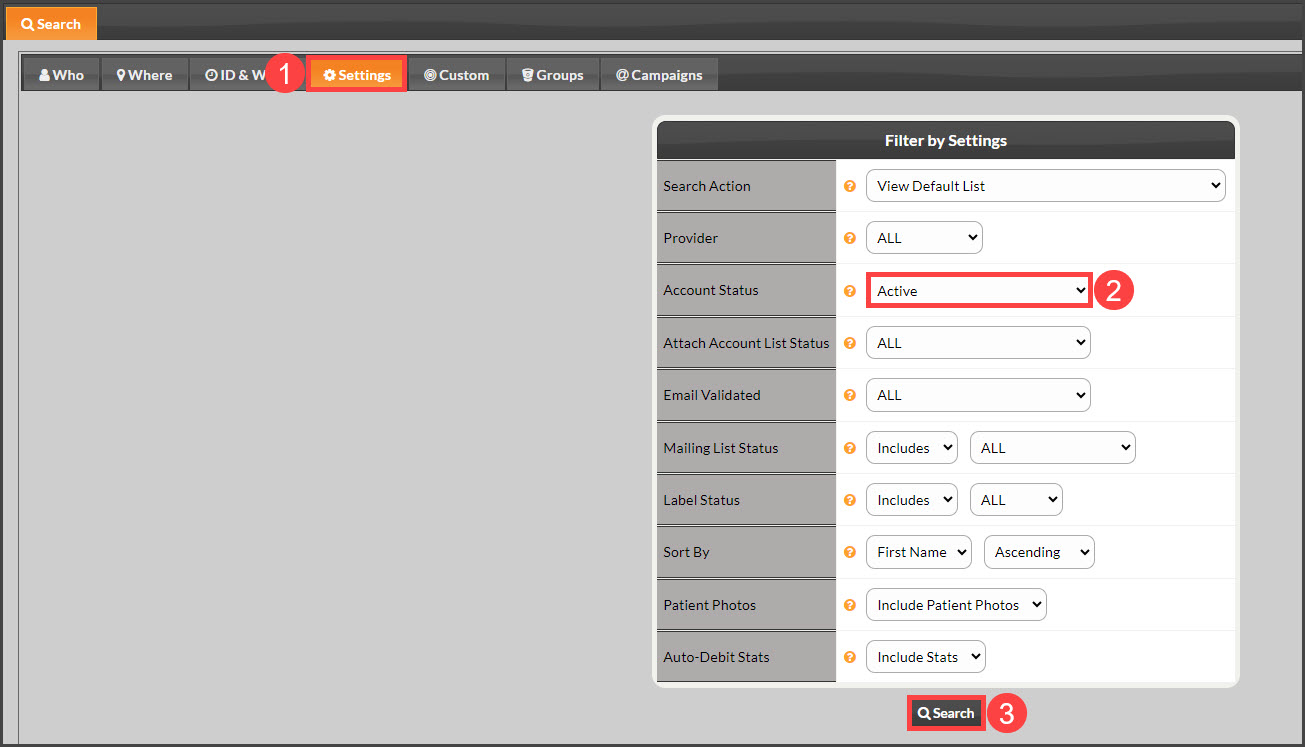
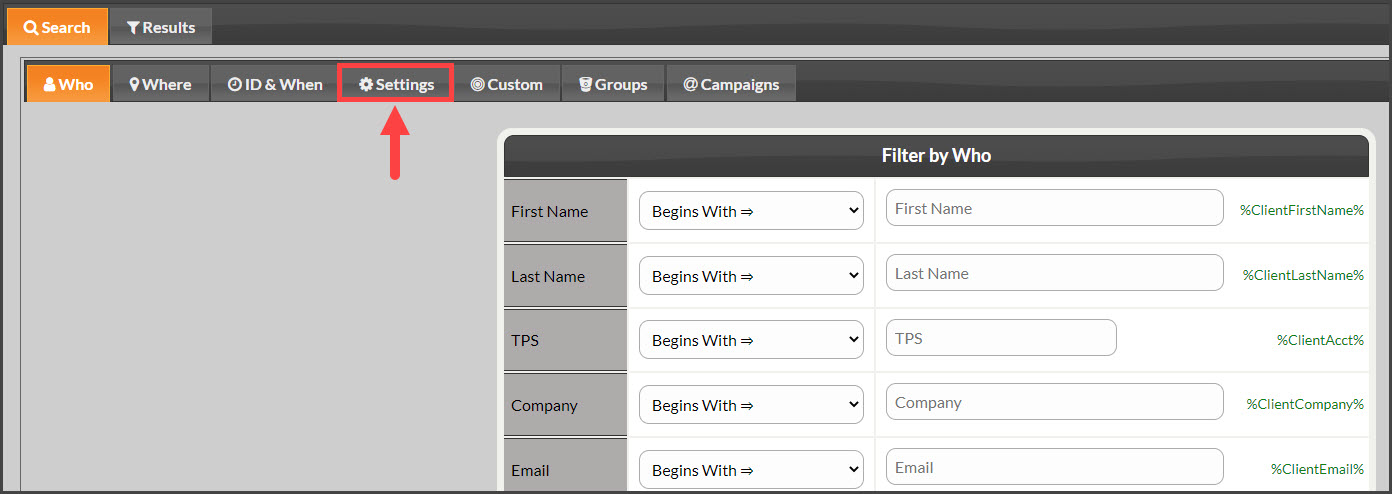
Step 2: Click over to the [Settings] tab and change the "Account Status" to [Active]. Select the [Search] button at the bottom of the page. Do not enter any search additional criteria.
Step 3: Once the page loads all patients, click the [All] button.

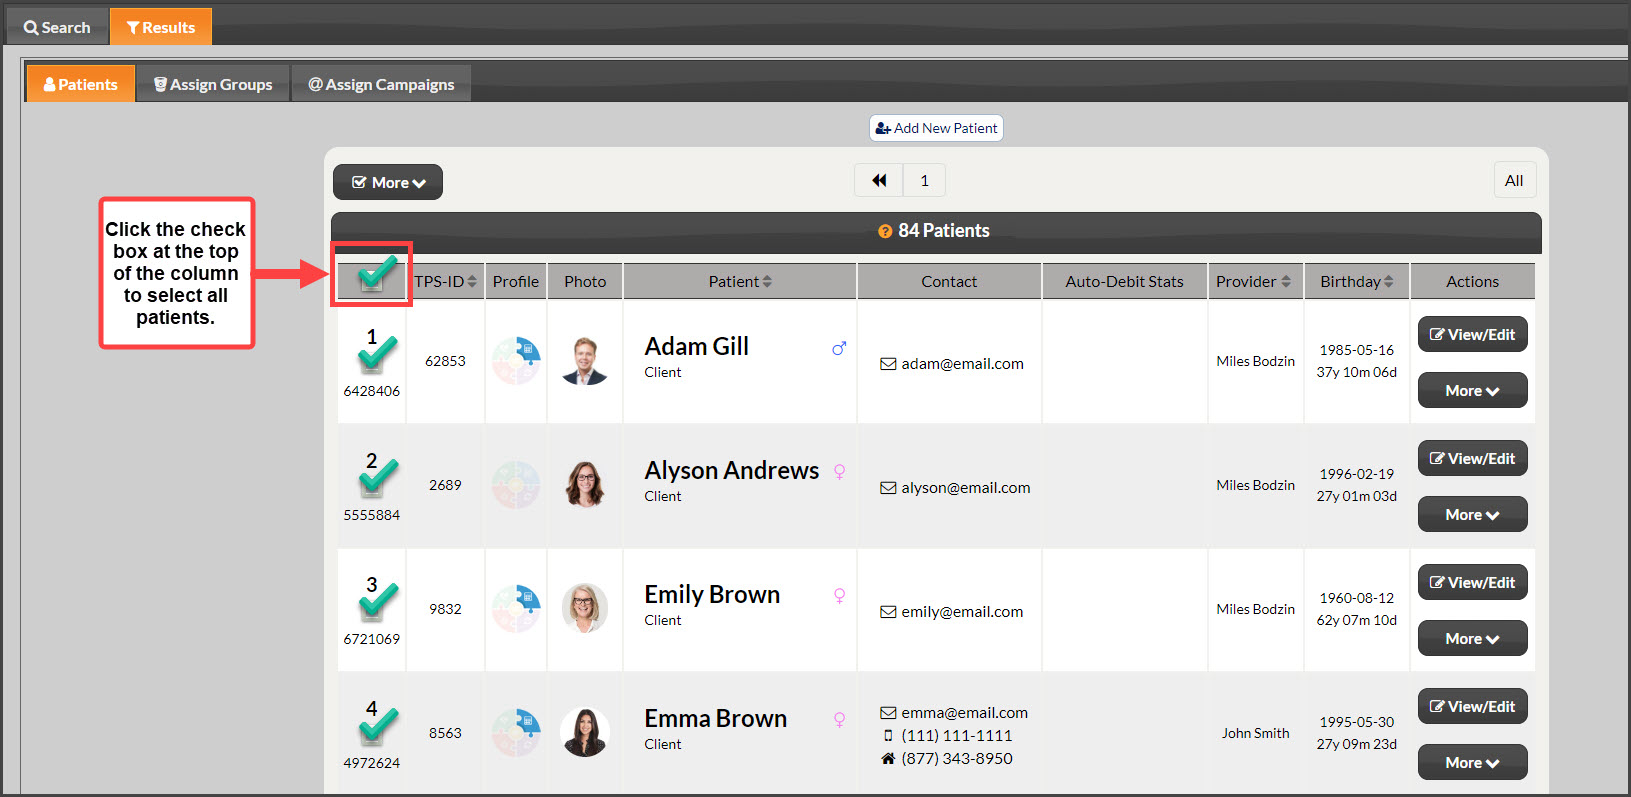
Step 4: Click on the box at the top of the first column, to the left of the [TPS-ID] column, which will [check] all of the boxes below to select the patient accounts.
NOTE: Our system is intelligent and will only inactivate those patients who truly qualify.
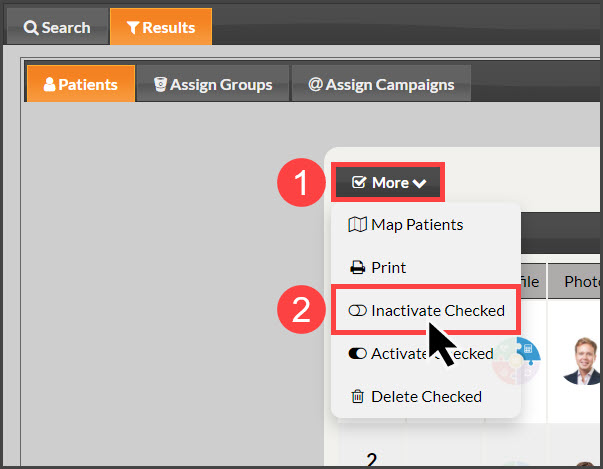
Step 4: Once checked, click the [More] button and select [Inactivate Checked] from the drop-down.

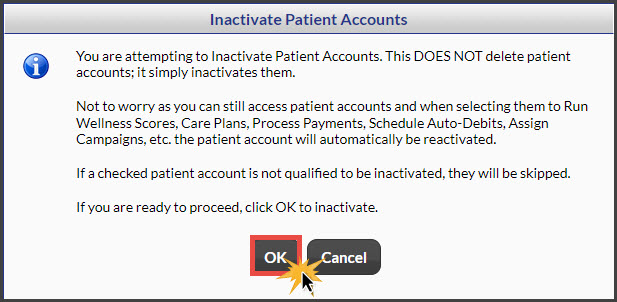
Click the [OK] button to proceed.
Once completed, a message will appear at the top of your screen with the number of inactivated patients.
Another option:
Step 1: From the [Patients] menu → Select [Search Patients].
Step 2: Select the [Settings] tab.
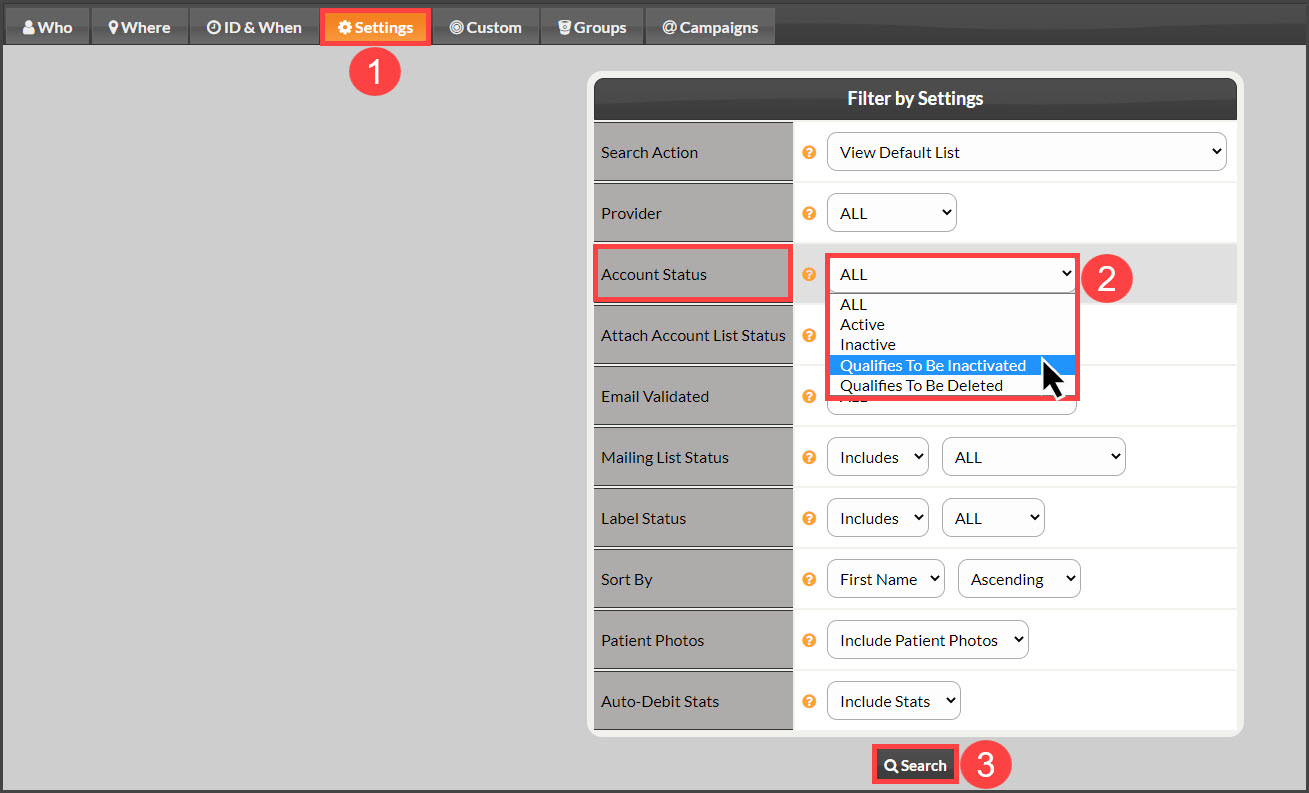
Step 3: Change the "Account Status" field to [Qualifies To Be Inactivated] → click [Search].
IMPORTANT: The list will generate all patients that have not been active in the account for over 30 days. To increase this, please click HERE for instructions on how to edit the Patient Settings.
Step 4: Click on the box at the top of the first column, to the left of the [TPS-ID] column, which will [check] all of the boxes below to select the patient accounts.

Step 5: Once checked, click the [More] button and select [Inactivate Checked] from the drop-down.
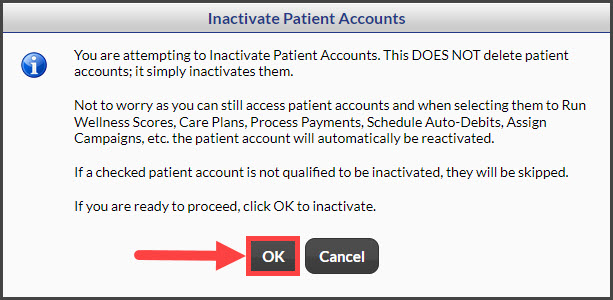
Click the [OK] button to proceed.